

Many things come with the new year. It’s kind of like a do-over. We all try to make resolutions that will make our lives better, our families happier and just be better people all around.
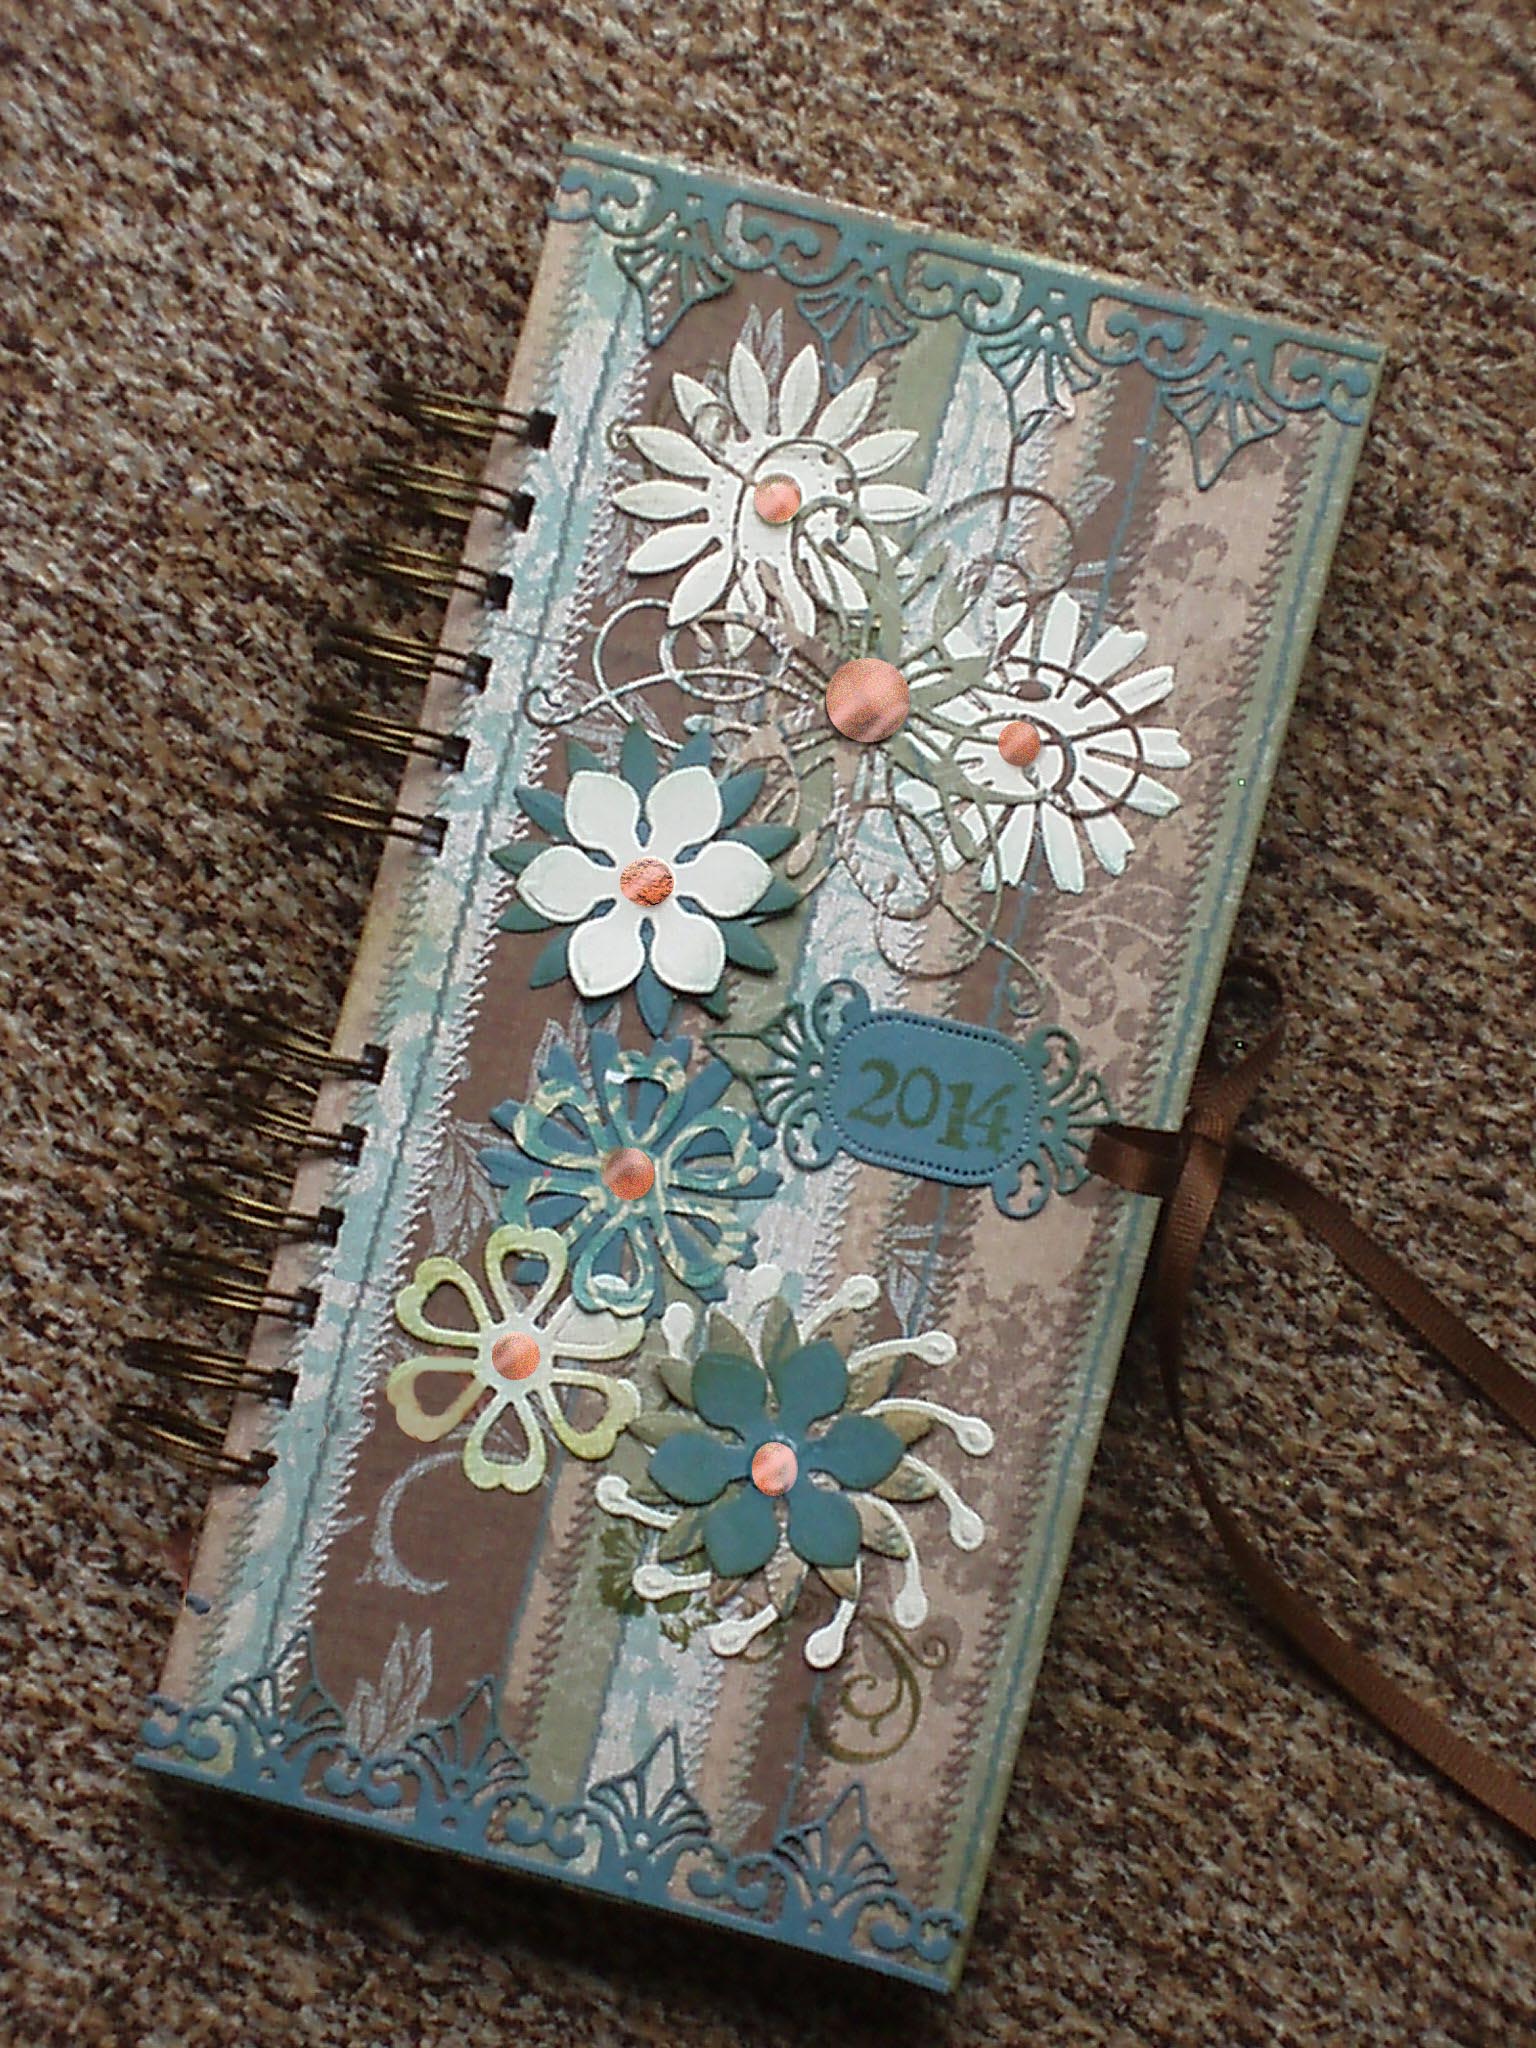
Keep track of your receipts for 2014 in this handy portfolio.
Another thing that comes with a new year: getting ready to file your taxes. It’s like the big let-down after a wonderful holiday season. You know it’s coming. You need to be prepared to get every deduction possible, but when all you have is a big box of receipts that may or may not be deductible, it seems like an insurmountable task.
Receipts are the worst things to organize. They aren’t always a standard size and, unless you are right on top of things, they somehow manage to get wadded up into a crumpled ball and shoved into the bottom of your purse. Not again!
I used KoolTak’s great adhesive products to whip up this little handmade book for receipts. It stays in my car’s glove compartment (although I can slip it into my purse when I carry a larger bag than normal), ready to receive each and every receipt. The pockets are made from #10 envelopes, and the covers are covered chipboard. By using KoolTak™ Premium Extreme adhesive, I know that it will hold up under difficult circumstances, even when the temperature gets in the 100°+ range or down below freezing. I also know that by the end of the year, it’s going to be pretty fat, so I made an adjustable ribbon closure.
Here’s how I did it:
Supplies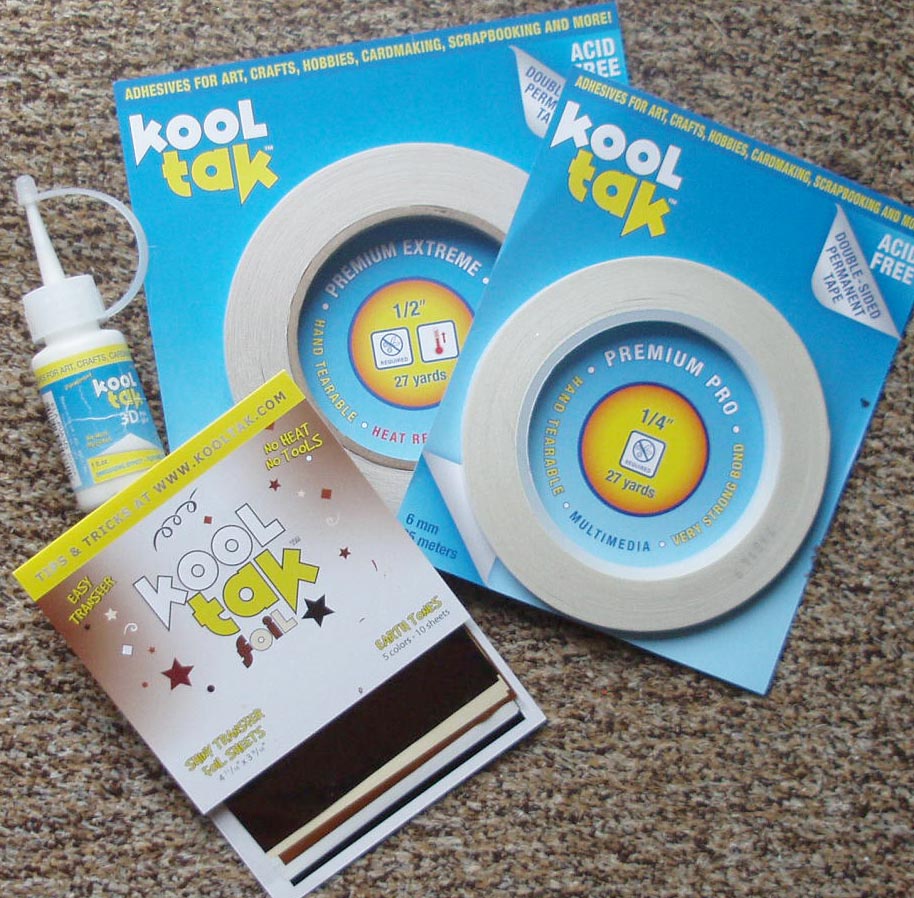
- KoolTak™ Premium Extreme Double Sided Adhesive, ¼” width
- KoolTak™ Premium Extreme Double Sided Adhesive, ½” width
- KoolTak™ Shiney Transfer Foil Sheets – Earth Tones
- KoolTak™ 3D Glue
- Card stock, patterned, two-four coordinating 12” x 12” sheets, depending on the size of your book
- Coordinating card stock scraps for tabs and die cuts
- Assorted Flower and Border Dies and Grand Calibre die cutting machine (Spellbinders)
- Envelopes – I used #10 business envelopes, but you can use any size you like by adjusting the cover size.
- Computer & Ink Jet Printer
- Bone folder or scoring tool
- Ribbon, 18”
- Rubber Stamps
- Dye Ink to coordinate with your card stock
- 3/8” or ½” circle punch
- Tab Punch – I used a slot punch, but a circle, square or any punch designed especially for tabs will do.
- Black Pen
- Number stamps (optional)
Directions
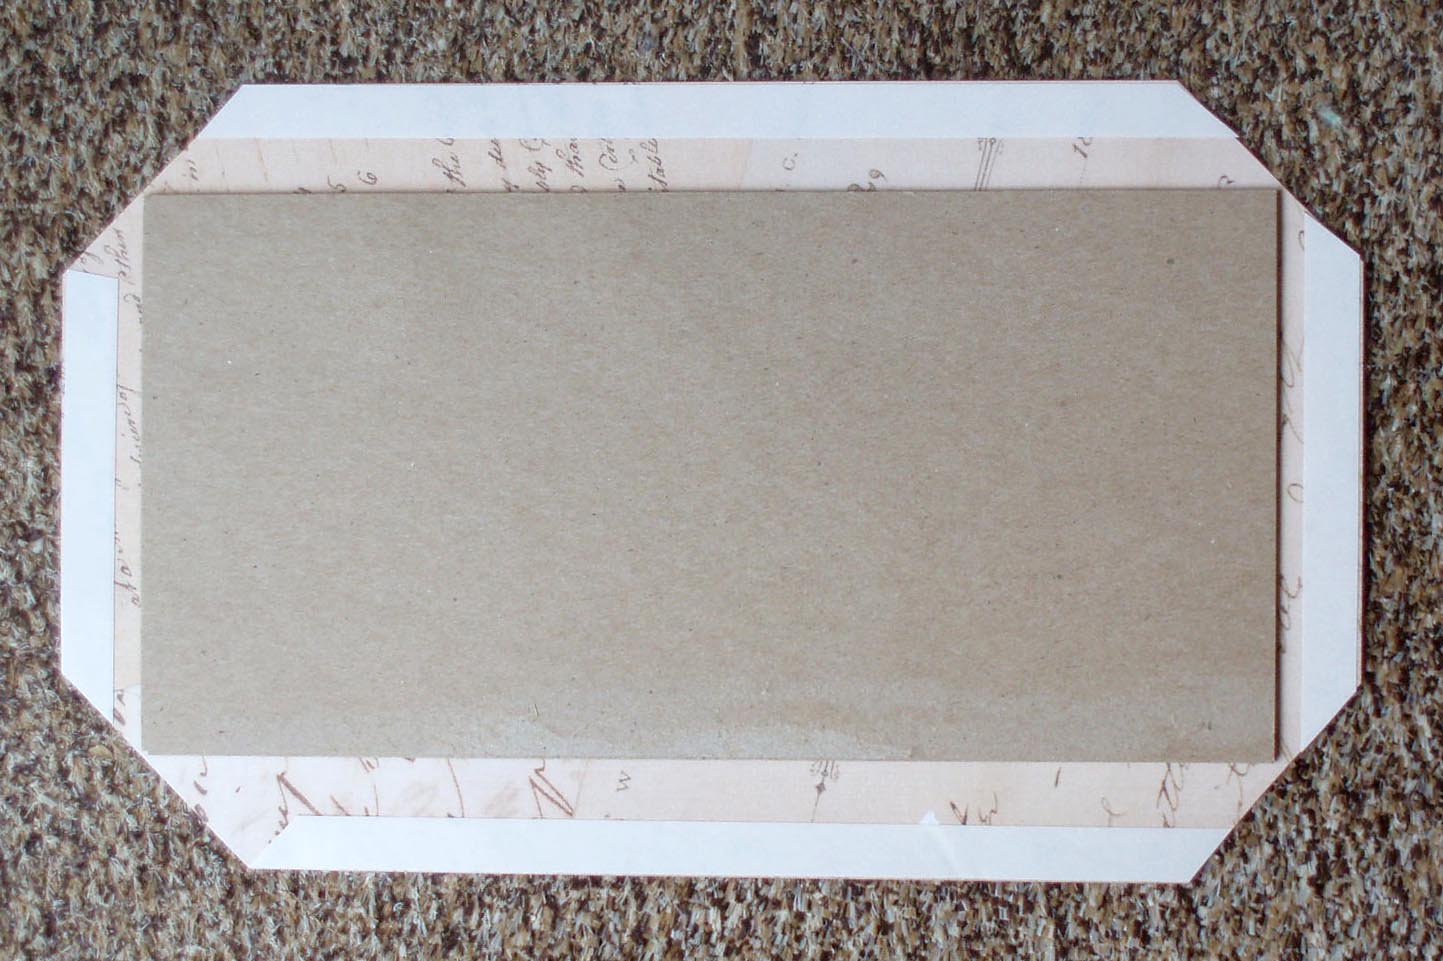
To determine the chipboard size, measure your envelopes, then add ½” all around and cut two card stock covers.
Tip: If you’re using a light-weight chipboard, adhere two pieces together to create sturdier covers.
Always place the adhesive on the piece you are adding to avoid placement errors.
Adhere the card stock to the chipboard with KoolTak™Premium Extreme, ½”. Make a 45° angle cut at each corner, leaving approximately 1/16” beyond each corner point.
Tip: For easy folding, score the edge of the cover paper with a bone folder where it meets the chipboard before you fold the cover paper around to the back.
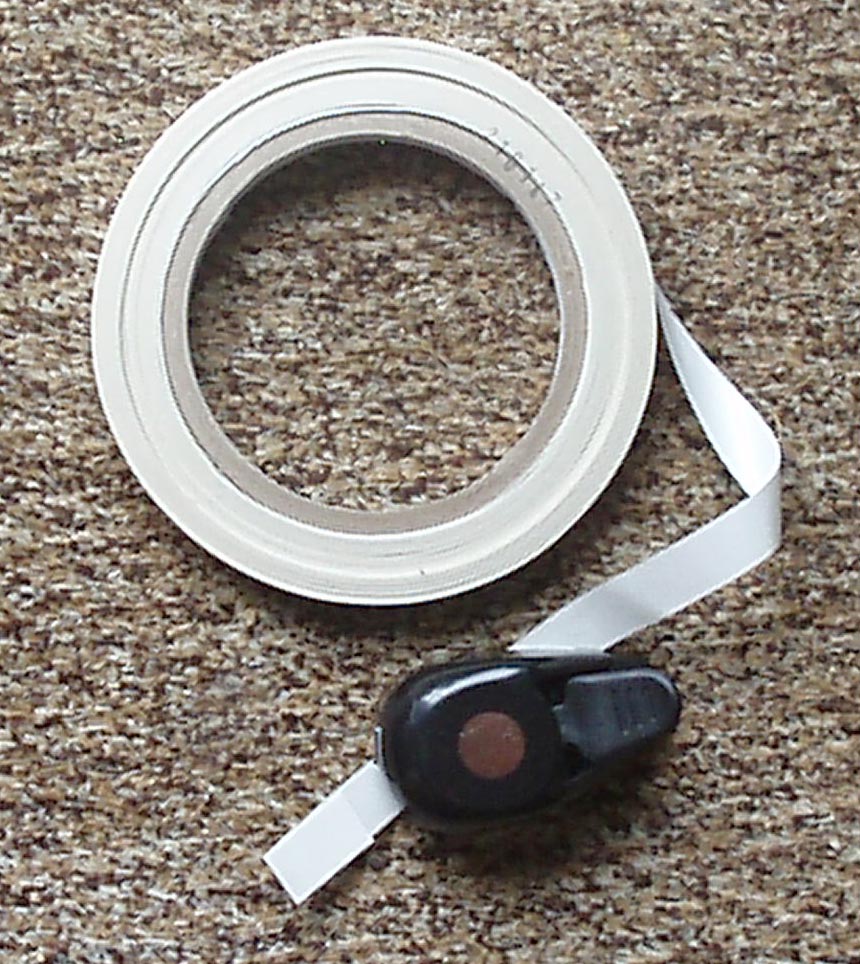
Adhere the ribbon ties ¾” into the backside of the covers on the opening edge, approximately half-way between the top and bottom, with KoolTak™ Premium Extreme, ¼”.

OOPS! If you cut your angles incorrectly, you might wind up with a gap on the miter. Resolve this by gluing the pieces of card stock cut from the corners to cover the gap.
Trim a second piece of card stock for the cover linerapproximately 1/8” smaller all around than the chipboard.
Example: If your cover is 5” x 10”, the cover liner would be 4 ¾ ” x 9¾’.
Adhere the liner to the inside cover with KoolTak™ Premium Extreme, ½”.
Repeat with the back cover.
Binding and Assembly
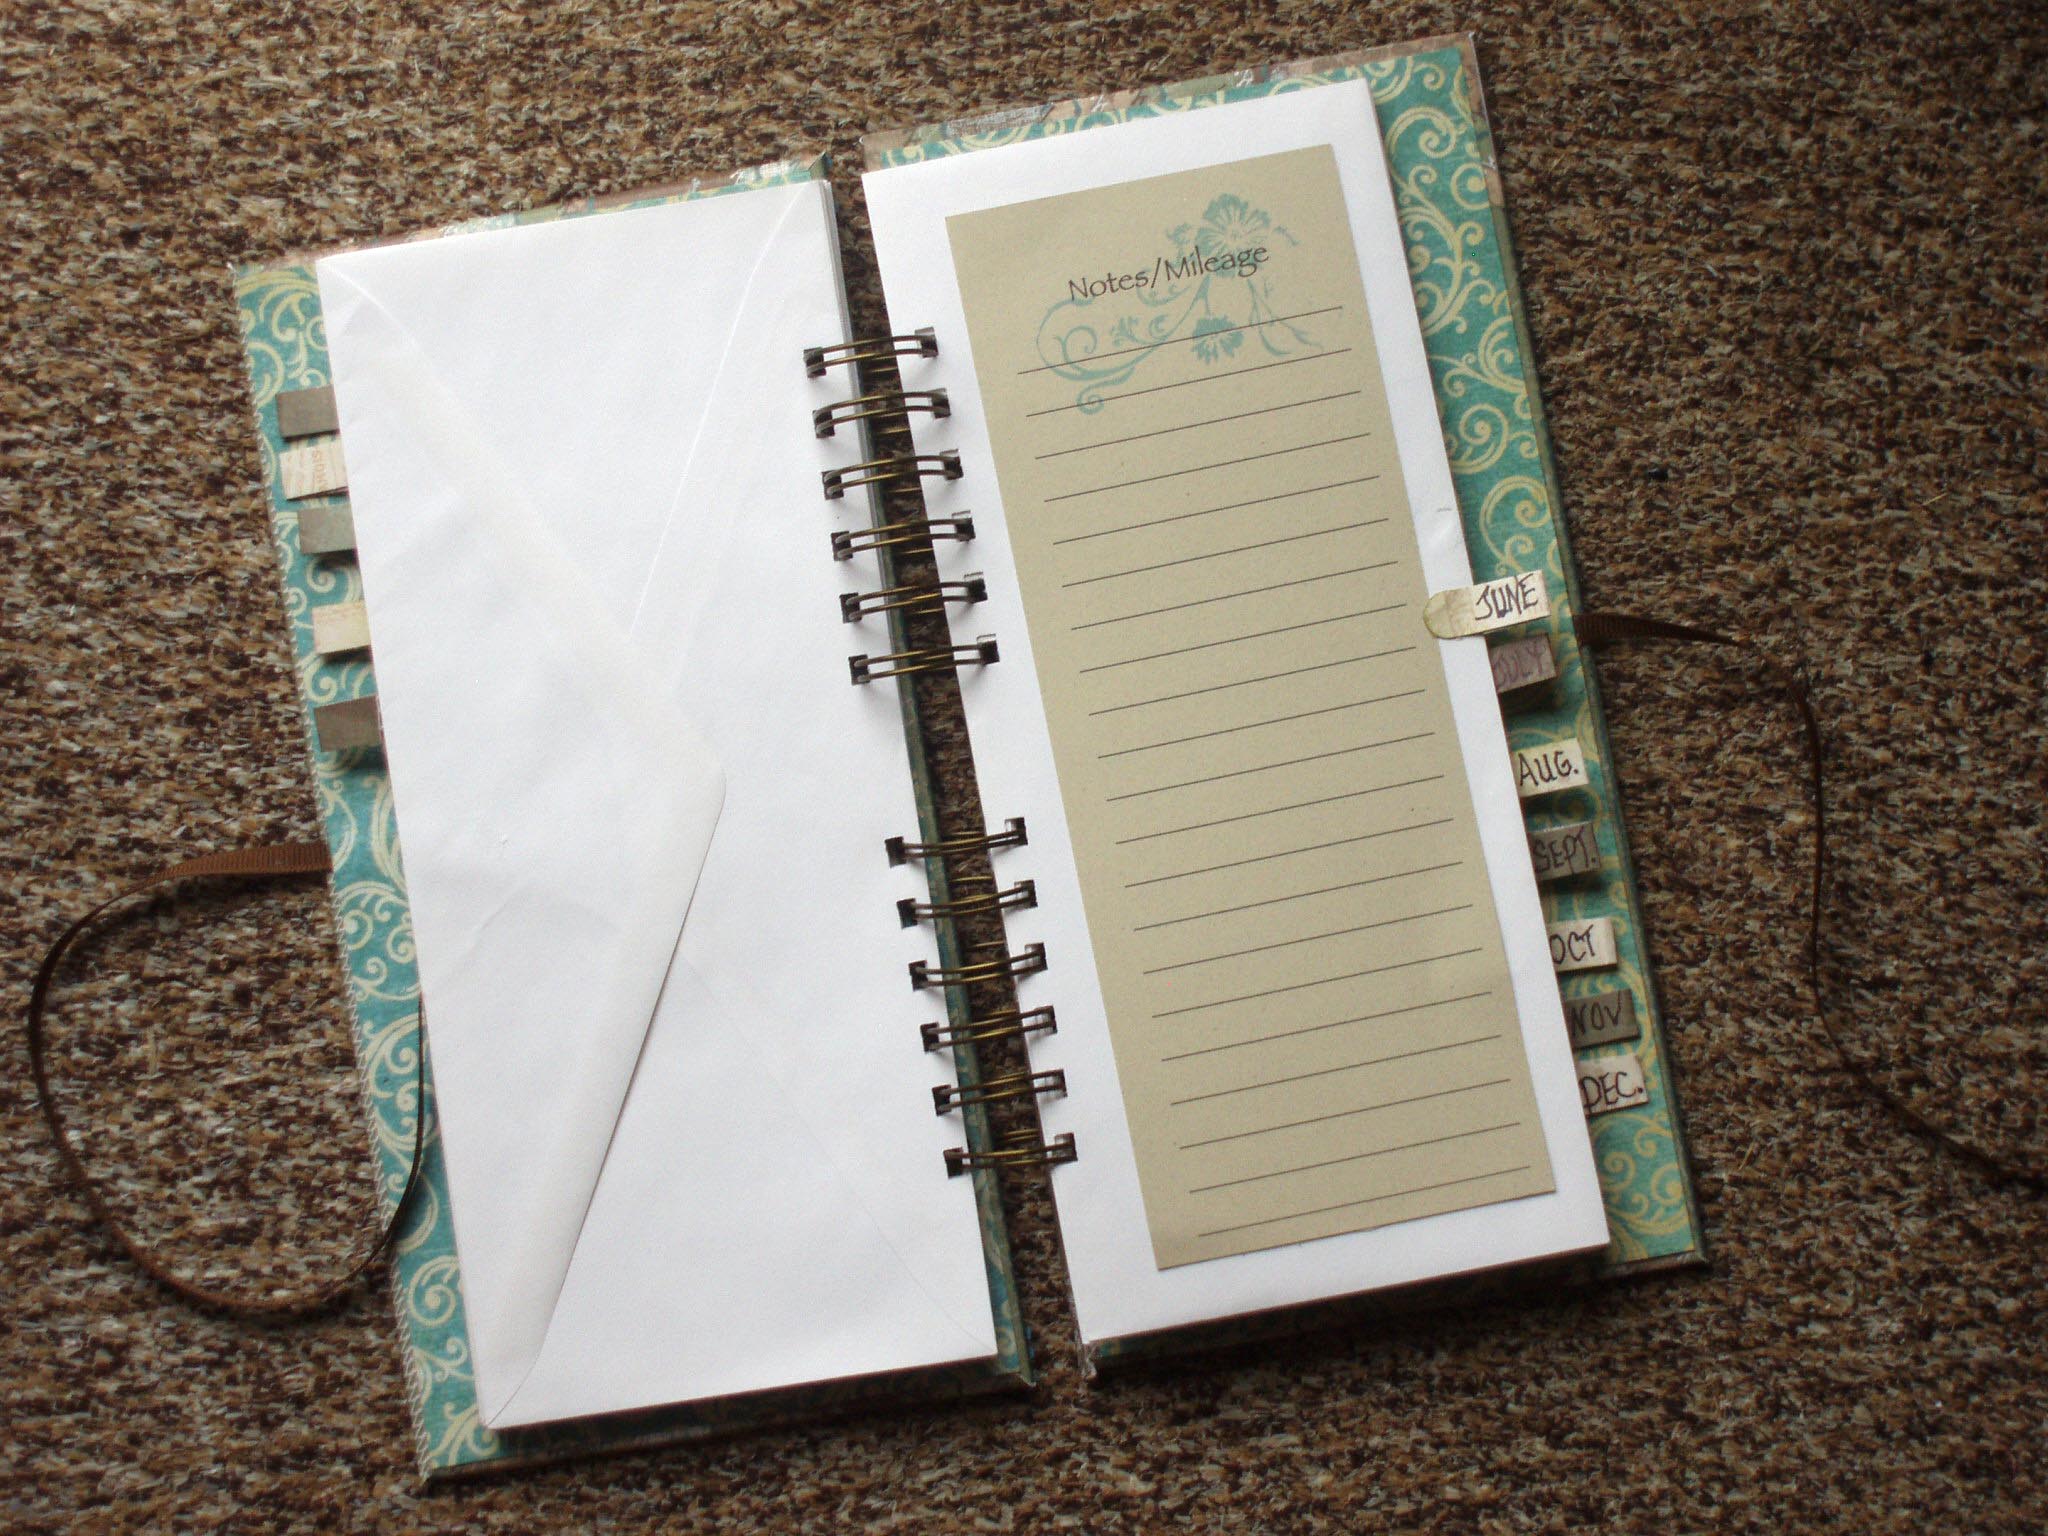
Using your computer and printer, set up the notes/mileage pages. You should be able to get three pages from an 8 ½” x 11” piece of paper or card stock (trim the columns and adhere to the envelope front with KoolTak™ Premium Extreme, ½”. You may also be able to print directly onto the envelopes, depending on your printer type, making sure you have at least a 1/2″ margin on either side.
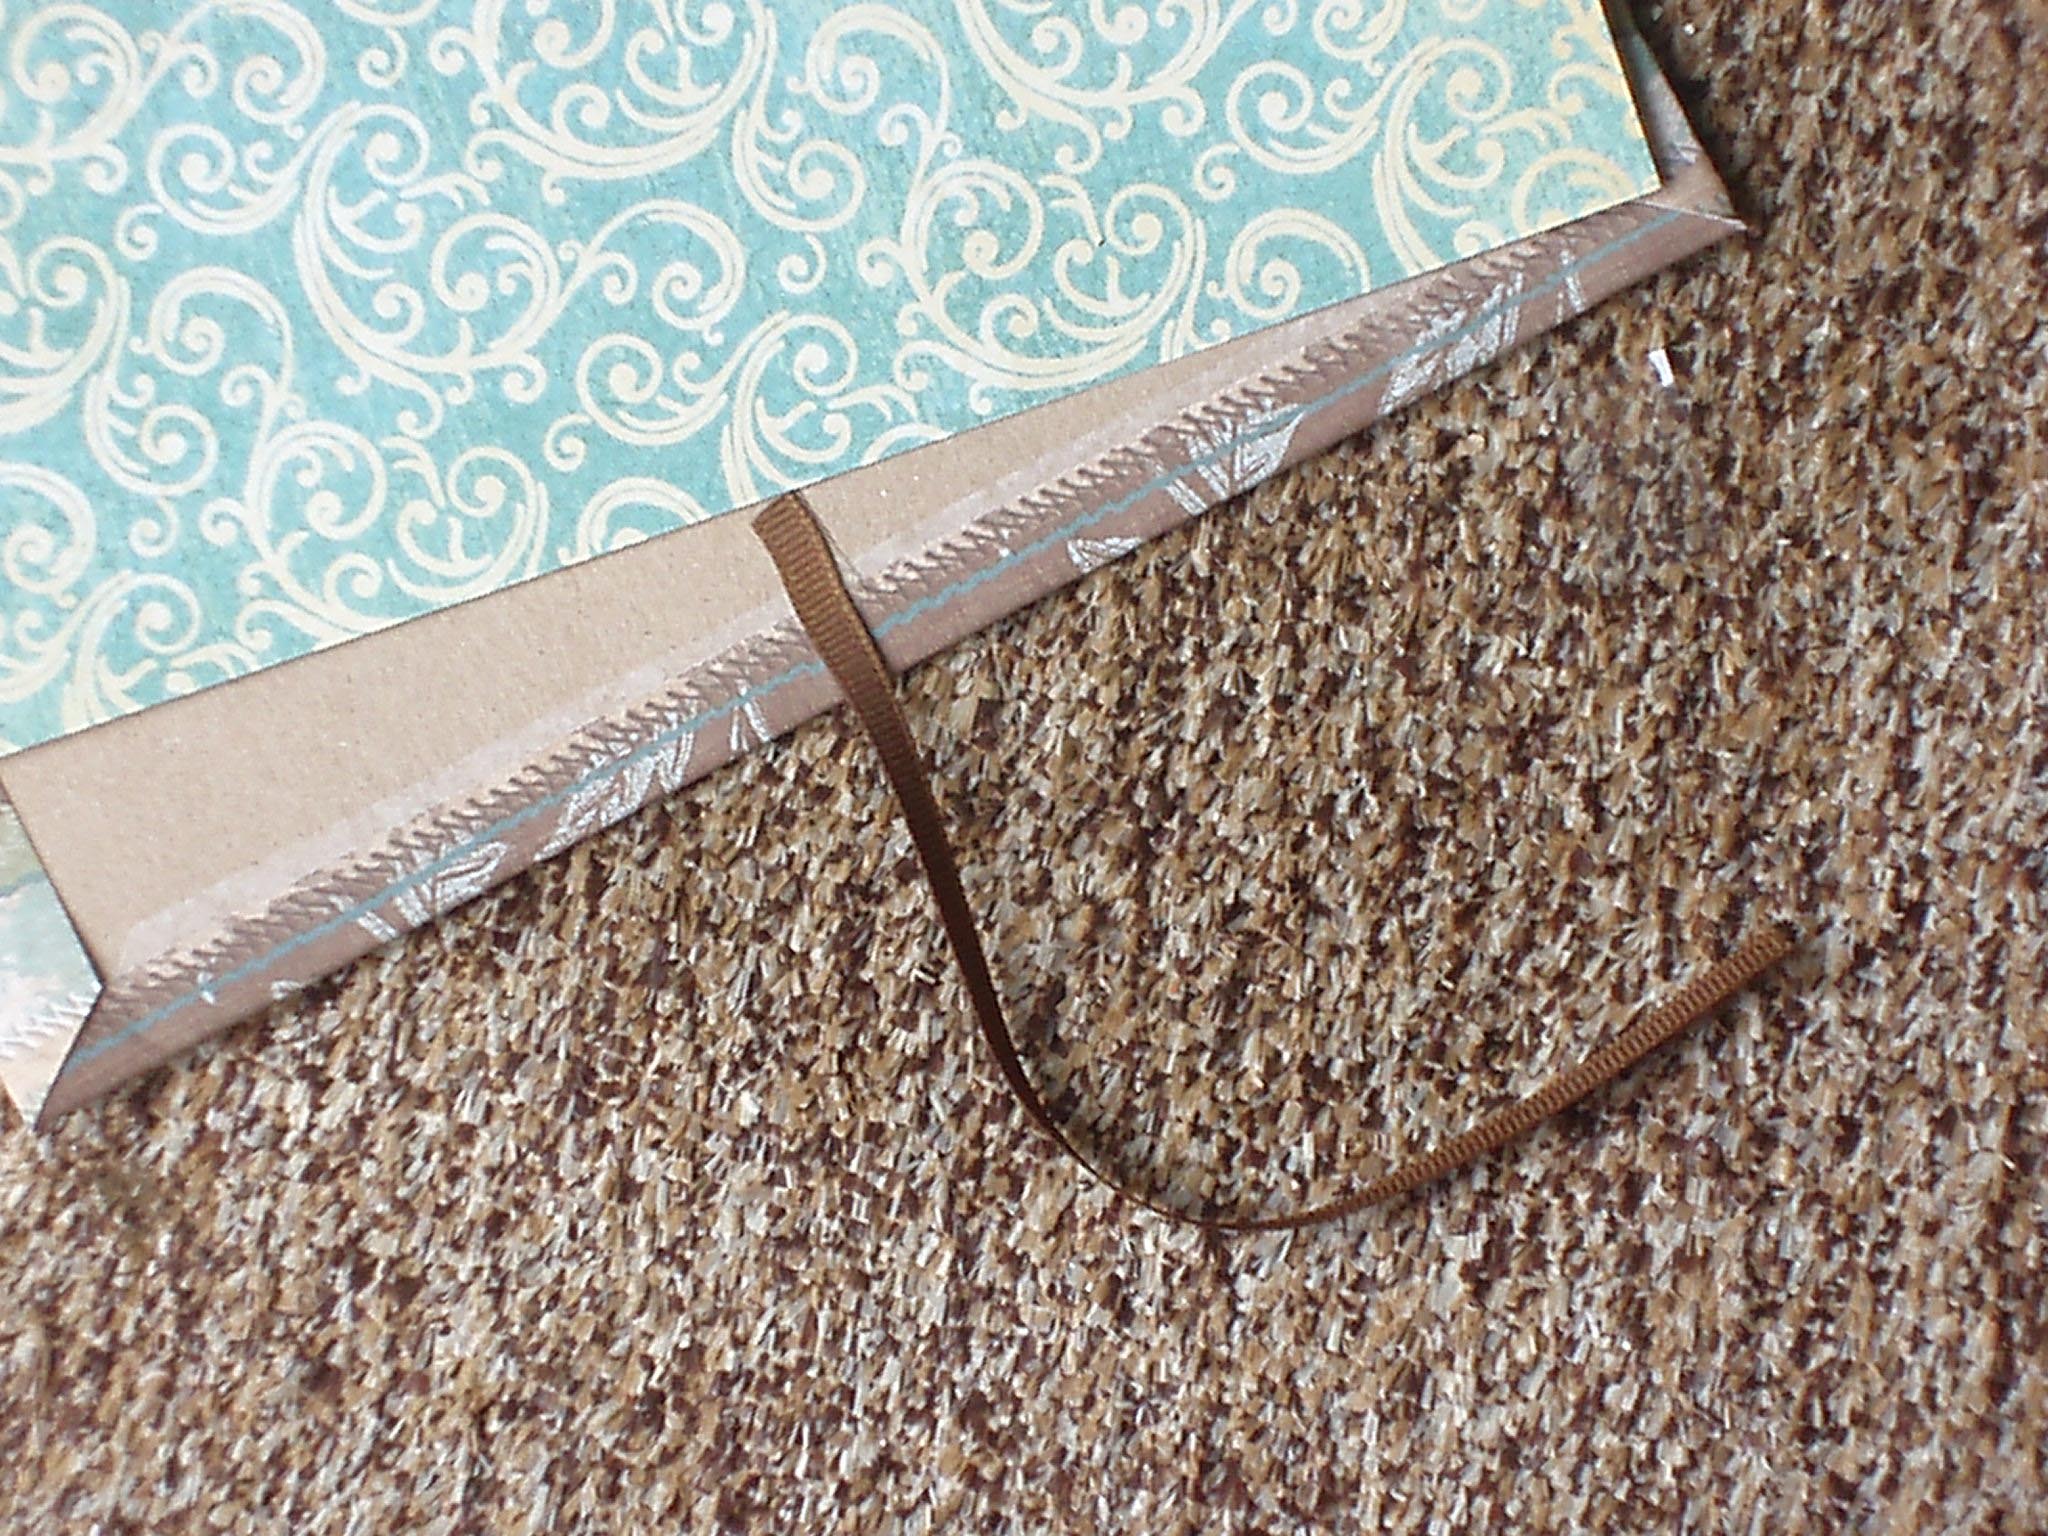
Attach the ribbon to the back of the chipboard before adding the liner paper.
NOTE: Be sure to print on the smooth side with the envelope flaps opposite the binding edge and toward the back of the book.
There are several ways to bind this book. You can use a binding machine, 3-5 small notebook rings or have it bound for you at an office supply store. I used the Zutter Bind-It-All for my book because I knew it would be very easy to cut all the envelopes at once and also cut the thick chipboard.
Use rubber stamps to dress up the notes/mileage pages. Attach a tab for each month on the corresponding envelope, being careful not to go too far onto the backside of the envelope. This could cause the envelope to be difficult to open.
Be careful to make sure you can bind the book with the envelope flaps opposite the bound edge.
Finishing
I waited to add my cover embellishments until I had bound my book so that I could better judge the placement and avoid having the binder material getting in the way.
Stamp a few swirls on the cover in brown ink to add interest to the background. Cut flowers from card stock scraps with Spellbinders dies. Sponge the edges with dye ink and attach the flowers with KoolTak™ 3D Glue.
For the flower centers, punch circles from KoolTak™ Premium Extreme.
Fold the sticky sides of the tape together to keep paper on both sides for punching.and place them on the flowers.
Tip: Fold the end of the Premium Extreme Adhesive back onto itself so that you have paper on both sides. This should keep the circle from adhering to your punch. If some of the sticky rubs off on your punch, clean it off with Undo or GooGone.
Press the back side of the Shiny Foil Sheet onto the circles and pull away to transfer the foil.
Add a die cut label or tag to the book front with KoolTak™ 3D Glue. Write or stamp the year onto the label.
Now you’re ready to take on the tax man in 2015. Just remember to file these receipts right away to cut down on your stress next tax season.
Here’s wishing everyone a very happy 2014. Make this the most creative year ever! – Candice
I love this idea for my sister. It will really help her reduce the size of her wallet which is packed with all her receipts! Can you please tell me how did you close the book? Did you tie the ribbon into a bow? Please let me know. Thanks so much.
Blessings,
Stephanie Busler
Yes, Stephanie, I used the ties to close it, but you could just as easily add a KoolTak Hook and Loop closure. I used the tie because I knew that by the end of the year, it would be very fat with receipts!
Thanks for your sweet comments.