

Children don’t always have a good grasp of time. How many times on a road trip have you heard, “Are we there yet?” only to hear it again every two to three minutes? Christmas seems to be the hardest to grasp since they are bombarded on all sides with Christmas magic, from TV to shopping malls to practicing Christmas programs at schools and churches.
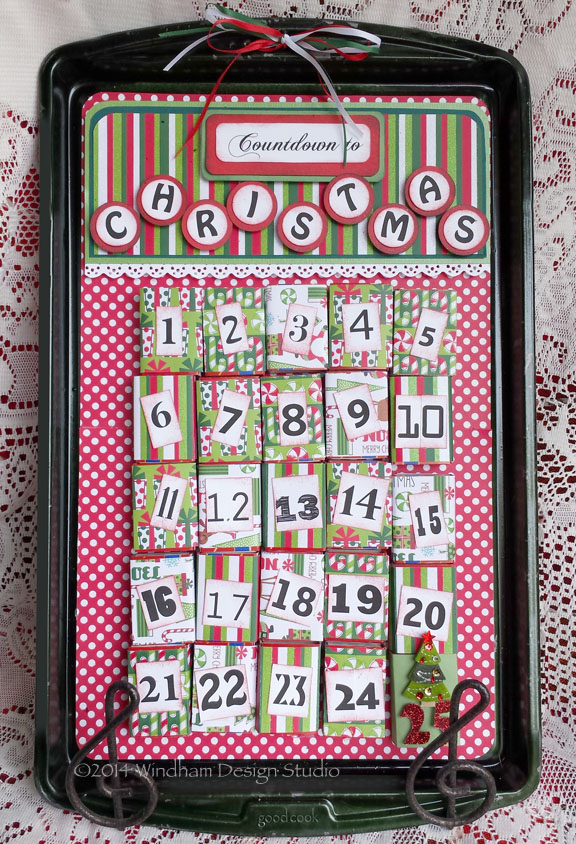
This simple calendar will help them understand a little about the time until the magic day arrives and give them a little treat to boot. The magnetic tape on the back of the boxes, which are filled with candy treats, makes this a project you can reuse from year to year. As the children remove the boxes, just re-attach them to the back of the sheet. When the holidays are over, pack it all away with your Christmas decorations. Mark the box it’s in so it will be the first thing you open next year to get your holidays off to a great start with this new tradition.
You can actually create this during an evening of TV watching, so while your watching those Christmas movies that have already begun, you can accomplish something creative. By using Kool Tak™ Premium Extreme Adhesive, this project comes together very quickly, and you can be sure it will stand up to the chill of a cold attic or the blistering heat of a storage building in summer.
Here’s how I made it:
Supplies
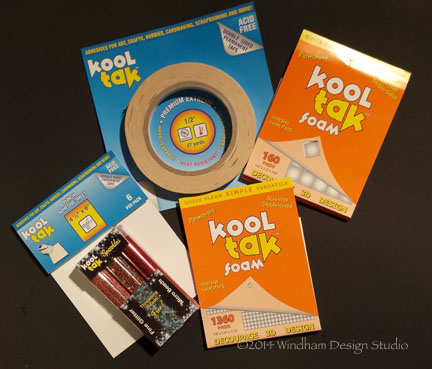
Kool Tak™ Adhesives make sure your project will not only stand the test of time, they’ll stand up to heat and cold, too.
Kool Tak™ Products
Kool Tak™ Premium Extreme Adhesive, ½”
Kool Tak Punch Adhesive
Kool Tak™ 3D Foam, ½”x ½” x1/8” and 1/8”x 1/8” x 1/8”
Kool Tak™ Sparkles
Metal Cookie Sheet, 11 x 17
Magnetic strips, 25, cut to 1 ½” pieces
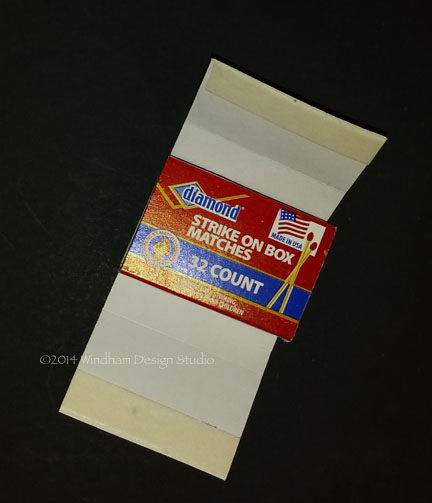
Matchboxes, 25, 2” x 1 ½” (Dollar Tree)
Card stock, two easy-to-match sheets, 12” x 12”, for the cookie sheet background, trimmed to 10 ¼” wide
Three to four sheets coordinating patterned paper or card stock, 5” X 12”
Patterned card stock, 9 ¾” x 3”
Coordinating card stock, red, dark green and light green, one 8 ½” x 11” sheet of each
White Card stock, 1 sheet, 8 ½” x 11” for the Christmas PDF file
Paper trimmer with scoring blade or ruler and bone folder
Computer and printer
Big Shot (Sizzix)
Vintage Lace Die (Tim Holtz Alterations for Sizzix)
Spray paint, Forest Green (Krylon)
Red and Green dye inks
Sand Paper
Circle punches, 1” and 1 ¼”
Ribbon, 24” length of each, red, green and white, 1/8”
Christmas tree embellishment
Tools: scissors, ruler, sponges, Cropadile or hammer and large nail, pencil
Directions
1. Lightly sand the sides and edges of the cookie sheet. Punch two holes in the center of the top edge, 2″ apart, with a Cropadile or hammer and large nail. Spray paint the front and side edges of the cookie sheet. The center will be covered by paper. (You can eliminate this step if you like the color of your cookie sheet.)
2. Apply ½” Kool Tak™ Premium Extreme Adhesive to the edges of the first sheet of 10 ¼”cardstock, trim the top corners with a large corner rounder punch and attach it to the top portion of the cookie sheet.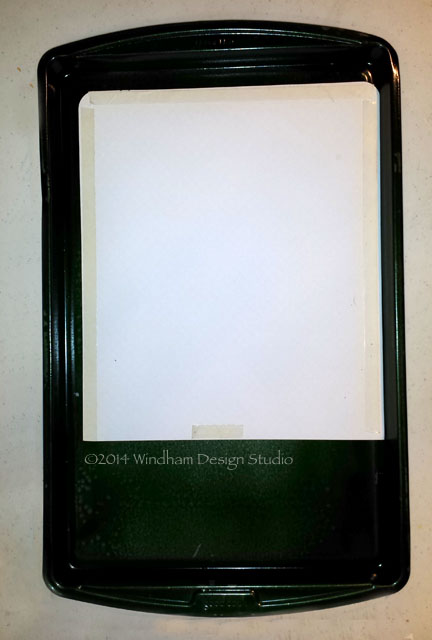
3. Place the second sheet overlapping the first and find a match point, marking it on the top sheet.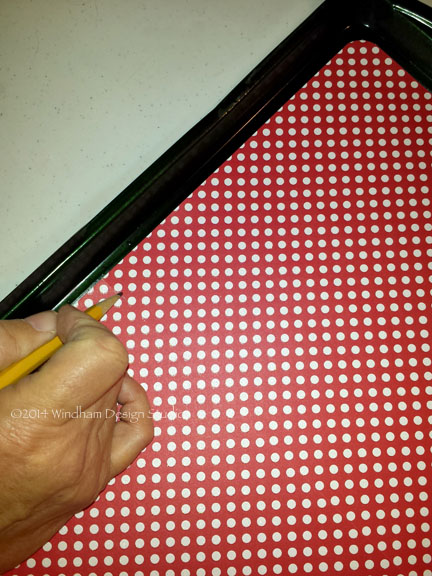
4. Measure the distance from the mark to the bottom of the cookie sheet and trim the paper accordingly. 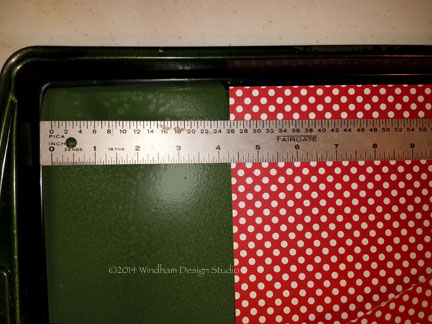
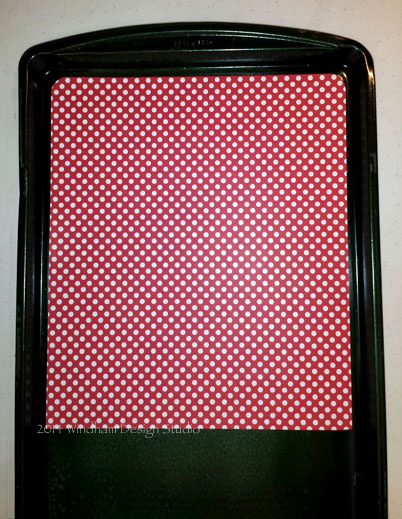
5. Trim the lower corners with a large corner rounder punch. Apply ½” Kool Tak™ Premium Extreme Adhesive to the edges of the second sheet of card stock and attach it to the bottom portion of the cookie sheet. Set the sheet aside.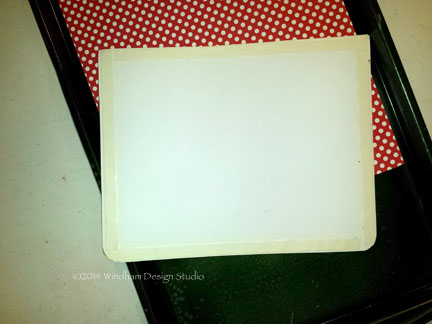
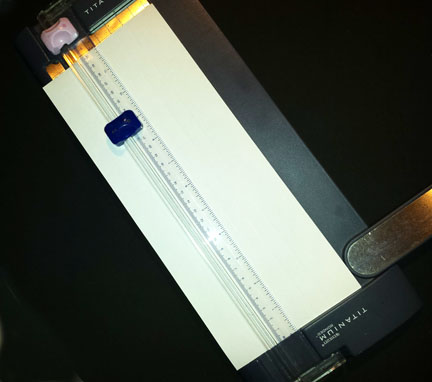
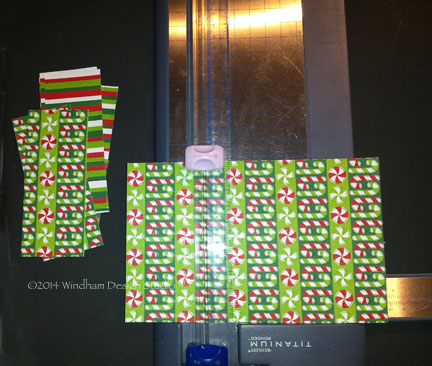
6. Cut 5” x 12” strips from three to four sheets of coordinating paper . Score at 1 ¼”, 1 ¾”, 3 ¾” and 3 ¾” on the 12” length. Cut into twenty-four 2” x 5” pieces. Crease along each score line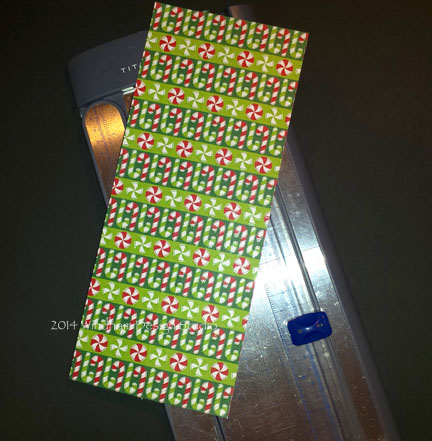
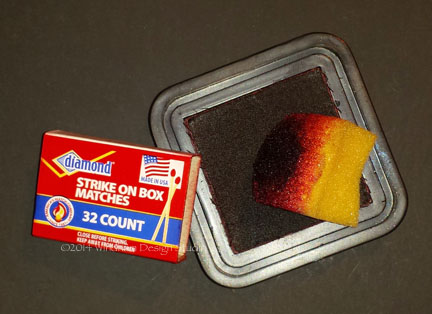
7. Remove the matches from the boxes and sponge the edges of the matchbox covers. If the inside boxes are not white on the ends, sponge them with ink as well. Optional: Cut patterned paper to line the bottom of each box and secure with ½” Kool Tak™ Premium Extreme Adhesive.
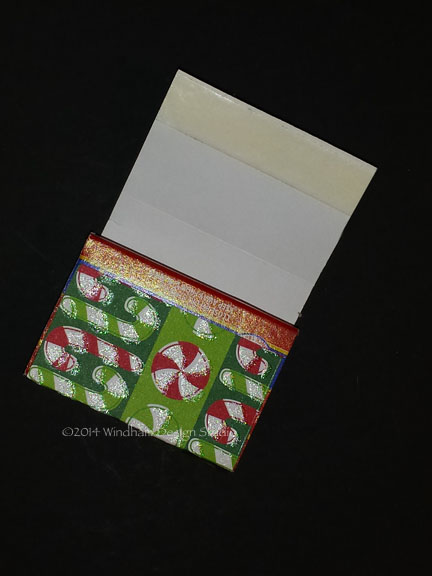
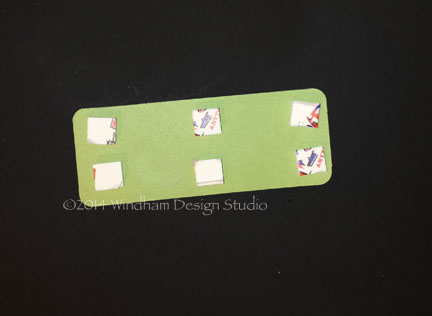
8. Using ½” Kool Tak™ Premium Extreme Adhesive, place adhesive on both 2” edges and one in the center of each 2” x 5” piece of paper. 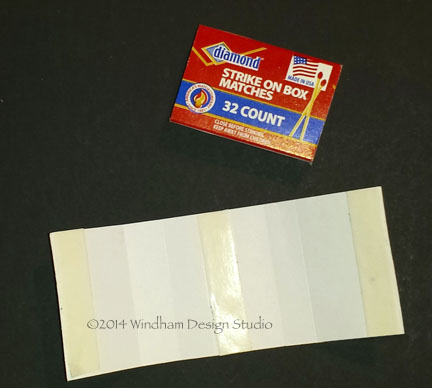
9. Remove the release paper, center piece first, and line up the paper in the center of the matchbox top. Remove the remaining release papers and wrap the card stock to the back of the box, securing the small piece first and overlapping the larger piece. Repeat with the remaining boxes and strips. Place candy or a small toy in each box and replace the covers. Cover the Christmas day box in solid green card stock.
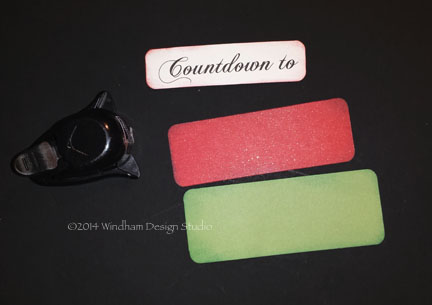
10. Print out the Christmas pdf file on white card stock. Trim off the Countdown tag and set it aside.
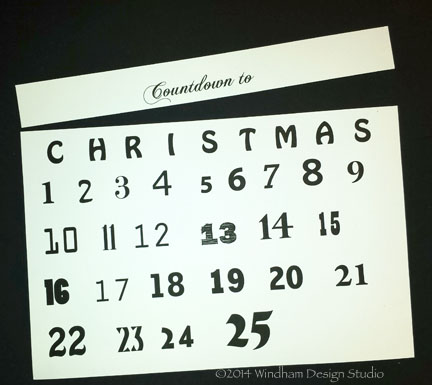
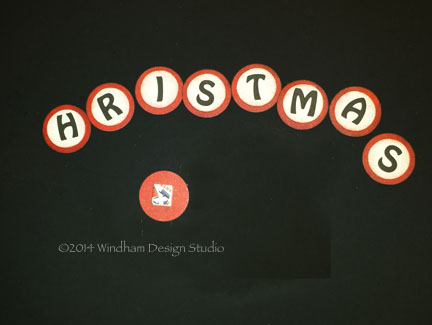
11. Punch the CHRISTMAS letters out with the 1” circle punch and set them aside. 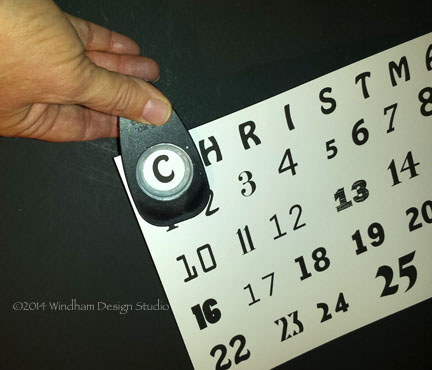
12. Trim each number(except for 25) into a rectangle or square to fit within the matchbox top edges. Sponge each edge with red dye ink. Attach the numbers with ½” Kool Tak™ Premium Extreme Adhesive to the box tops. If you don’t attach the letters perfectly centered, it will be much easier and you will add a little pep to your layout.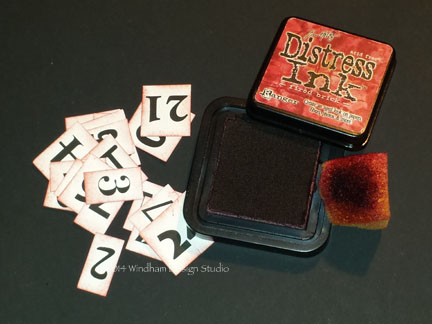
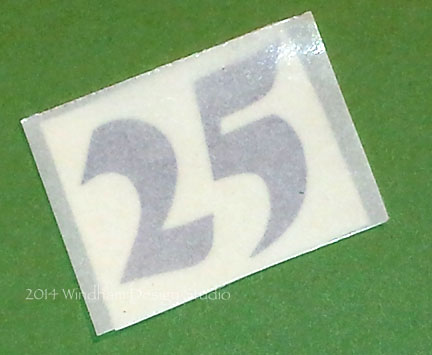
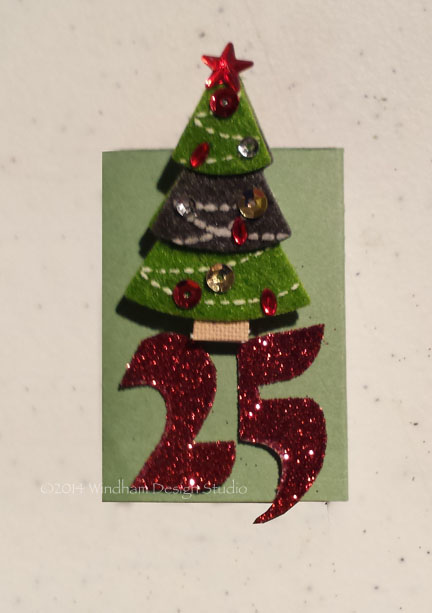
13. For the Christmas day box letters, cut a scrap of Kool Tak™ Punch Adhesive and apply it to the FRONT of the number. Cut the numbers out with scissors.
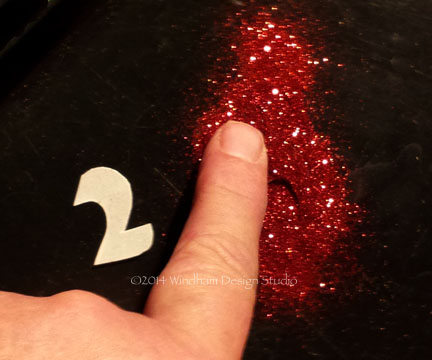
14. Remove the release paper and apply Kool Tak™ Sparkles Red Glitter, pressing the glitter onto the number.
15. On the back of both numbers, place 1/8” Kool Tak™ 3D Foam pads. Attach a small Christmas tree to the upper part of the box and add the numbers below. It’s ok to let the top of the tree extend above the box and the numbers extend below.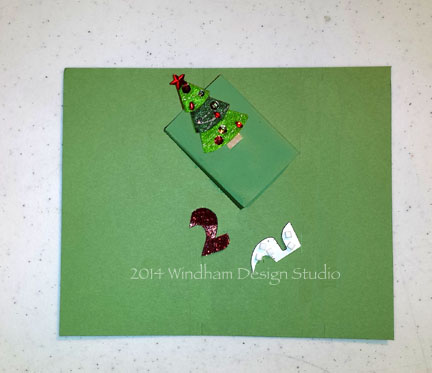
16. Although the magnetic strips are self adhesive, I prefer to add a strip of ½” Kool Tak™ Premium Extreme Adhesive to reinforce the holding power. Attach the magnets to the back of each box. Line the boxes up in the center of the cookie sheet in any configuration you like.

17. Cut a piece of patterned cardstock 9 ¾” x 3”. Cut light green card stock 10 ¼”x
3 ½”. Cut the dark green card stock to 10” x 3 ¼”. Trim the top corners of each piece with a corner rounder. Use ½” Kool Tak™ Premium Extreme Adhesive to layer the patterned paper onto the two pieces of card stock. Cut lace trim from white cardstock with the Big Shot and Vintage Lace die. Attach it under the slight green card stock with ½” Kool Tak™ Premium Extreme Adhesive.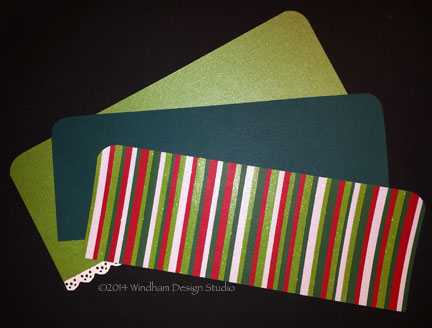
18. Place ½” Kool Tak™ 3D Foam Adhesive along the back on all edges and in the center to attach the finished piece to the top of the cookie sheet. I normally don’t use this much foam, but this is a wide piece and it will be packed in a box for the next 10 months.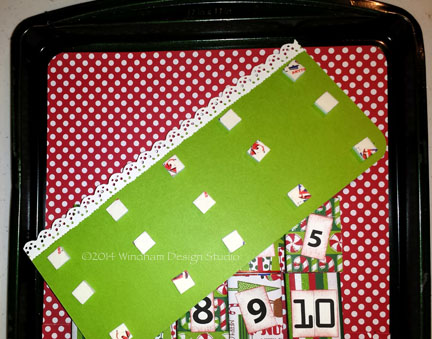
19. Sponge the edges of the 1” CHRISTMAS circles with red dye ink. Punch 1 ¼” circles from red cardstock and attach the white circles to the red with ½” Kool Tak™ Premium Extreme Adhesive. Attach circles to the lower portion of the header with ½” Kool Tak™ 3D Foam in a random pattern.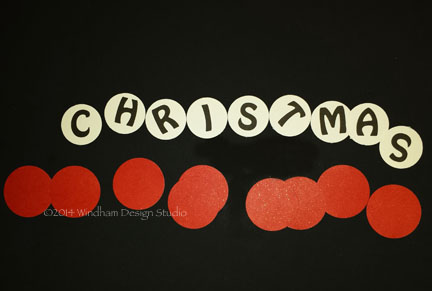
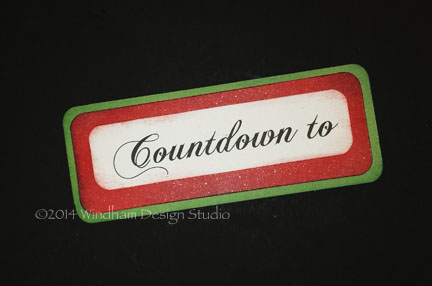
19. Cut the “Countdown to” strip to 4” x 1 ¼”, trim with a corner rounder and sponge the edges with red ink. Cut red card stock to 4 ¼” x 1 ¾”, trim with corner rounder and sponge with dark green ink. Cut green card stock to 4 ½” x 1 ¾”, trim with corner rounder and sponge with dark green ink. Join all pieces together with ½” Kool Tak™ Ultra Clear and attach it to the cookie sheet using ½” Kool Tak™ 3D Foam Adhesive.
20. Holding the ends of the ribbon together, trim the ends to at a sharp angle to make threading easier. Run the ribbons back to front and tie a knot, then tie a bow.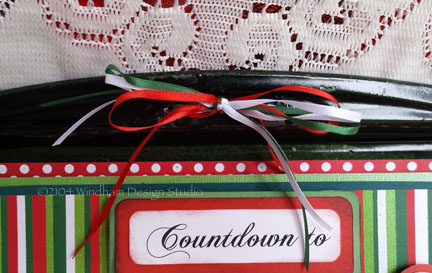
I prefer to have my calendar sit on an easel, but if want to hang it, after threading the ribbon but before tying the knots, pull about 6″ of the ribbon to the back, then knot and bow in the front. Use the 6″ in the back to hang over a hook or nail in the wall.
I hope you enjoy your holidays and come back to the Kool Tak blog frequently. You have a long weekend coming up. It’s the perfect time for looking back at posts from the last year to get ideas for gifts and decor.
From my family to yours, we wish you a very happy Thanksgiving!