
Autumn has finally arrived with a little nip in the air in the mornings, but still getting warm in the afternoons here in Tennessee. This weather always reminds me of camping, raking leaves and the aroma of pumpkin pies baking.
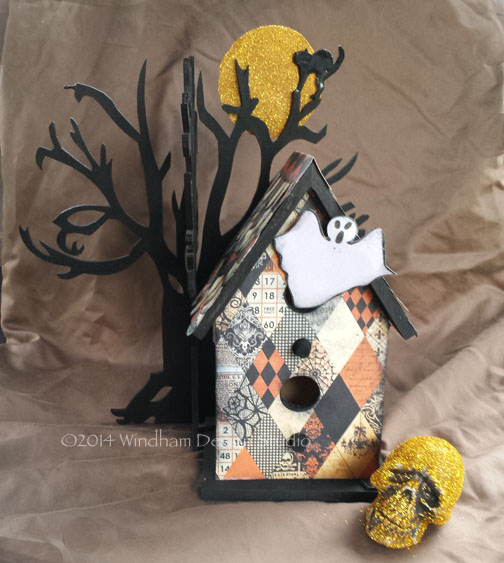
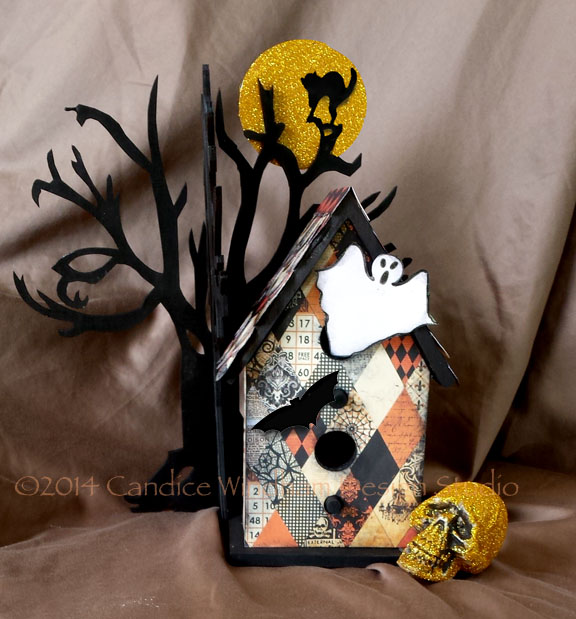
Before we can get into the Thanksgiving season, All Hallows’ Eve or Halloween, will make an appearance. Our local craft stores have had materials for decorations up since mid-summer. I decided to take a little thinking-outside-the-box attitude and turn a plain bird house into a haunted cottage with a lot of help from Kool Tak™ products.
Kool Tak™ Premium Extreme and Black Foam Pads hold everything together, and Kool Tak™ Sparkles Glitter adds a special pop. This project may look complicated, but it’s really simple.
Here’s how I did it:
Supplies

Kool Tak™ products make this project simple!
Kool Tak™ Products:
- Premium Extreme Adhesive, 1/2″
- Foam pad roll, black
- Sparkles Glitter, gold
- Sparkly Adhesive Sheet
- 3D PVA Adhesive
Wooden or paper maché birdhouse (Hobby Lobby)
Printed Card Stock, Halloween-themed, 12″ x12″, double sided, two sheets
Craft Paint, black
Card stock scraps, solid colors
Dimensional paper tree ( Creatology 3D Tree, Michael’s)
Embossing powder, black
Circle Punches, 1″ and 1/4″, 2 1/2″
Decorative Scissors, Scalloped
Small plastic skull, about 3″ or smaller
Printed PDF file on white card stock- Kool Tak™ Halloween Cutouts
Tools: scissors, craft knife, foam brush, heat tool
Directions
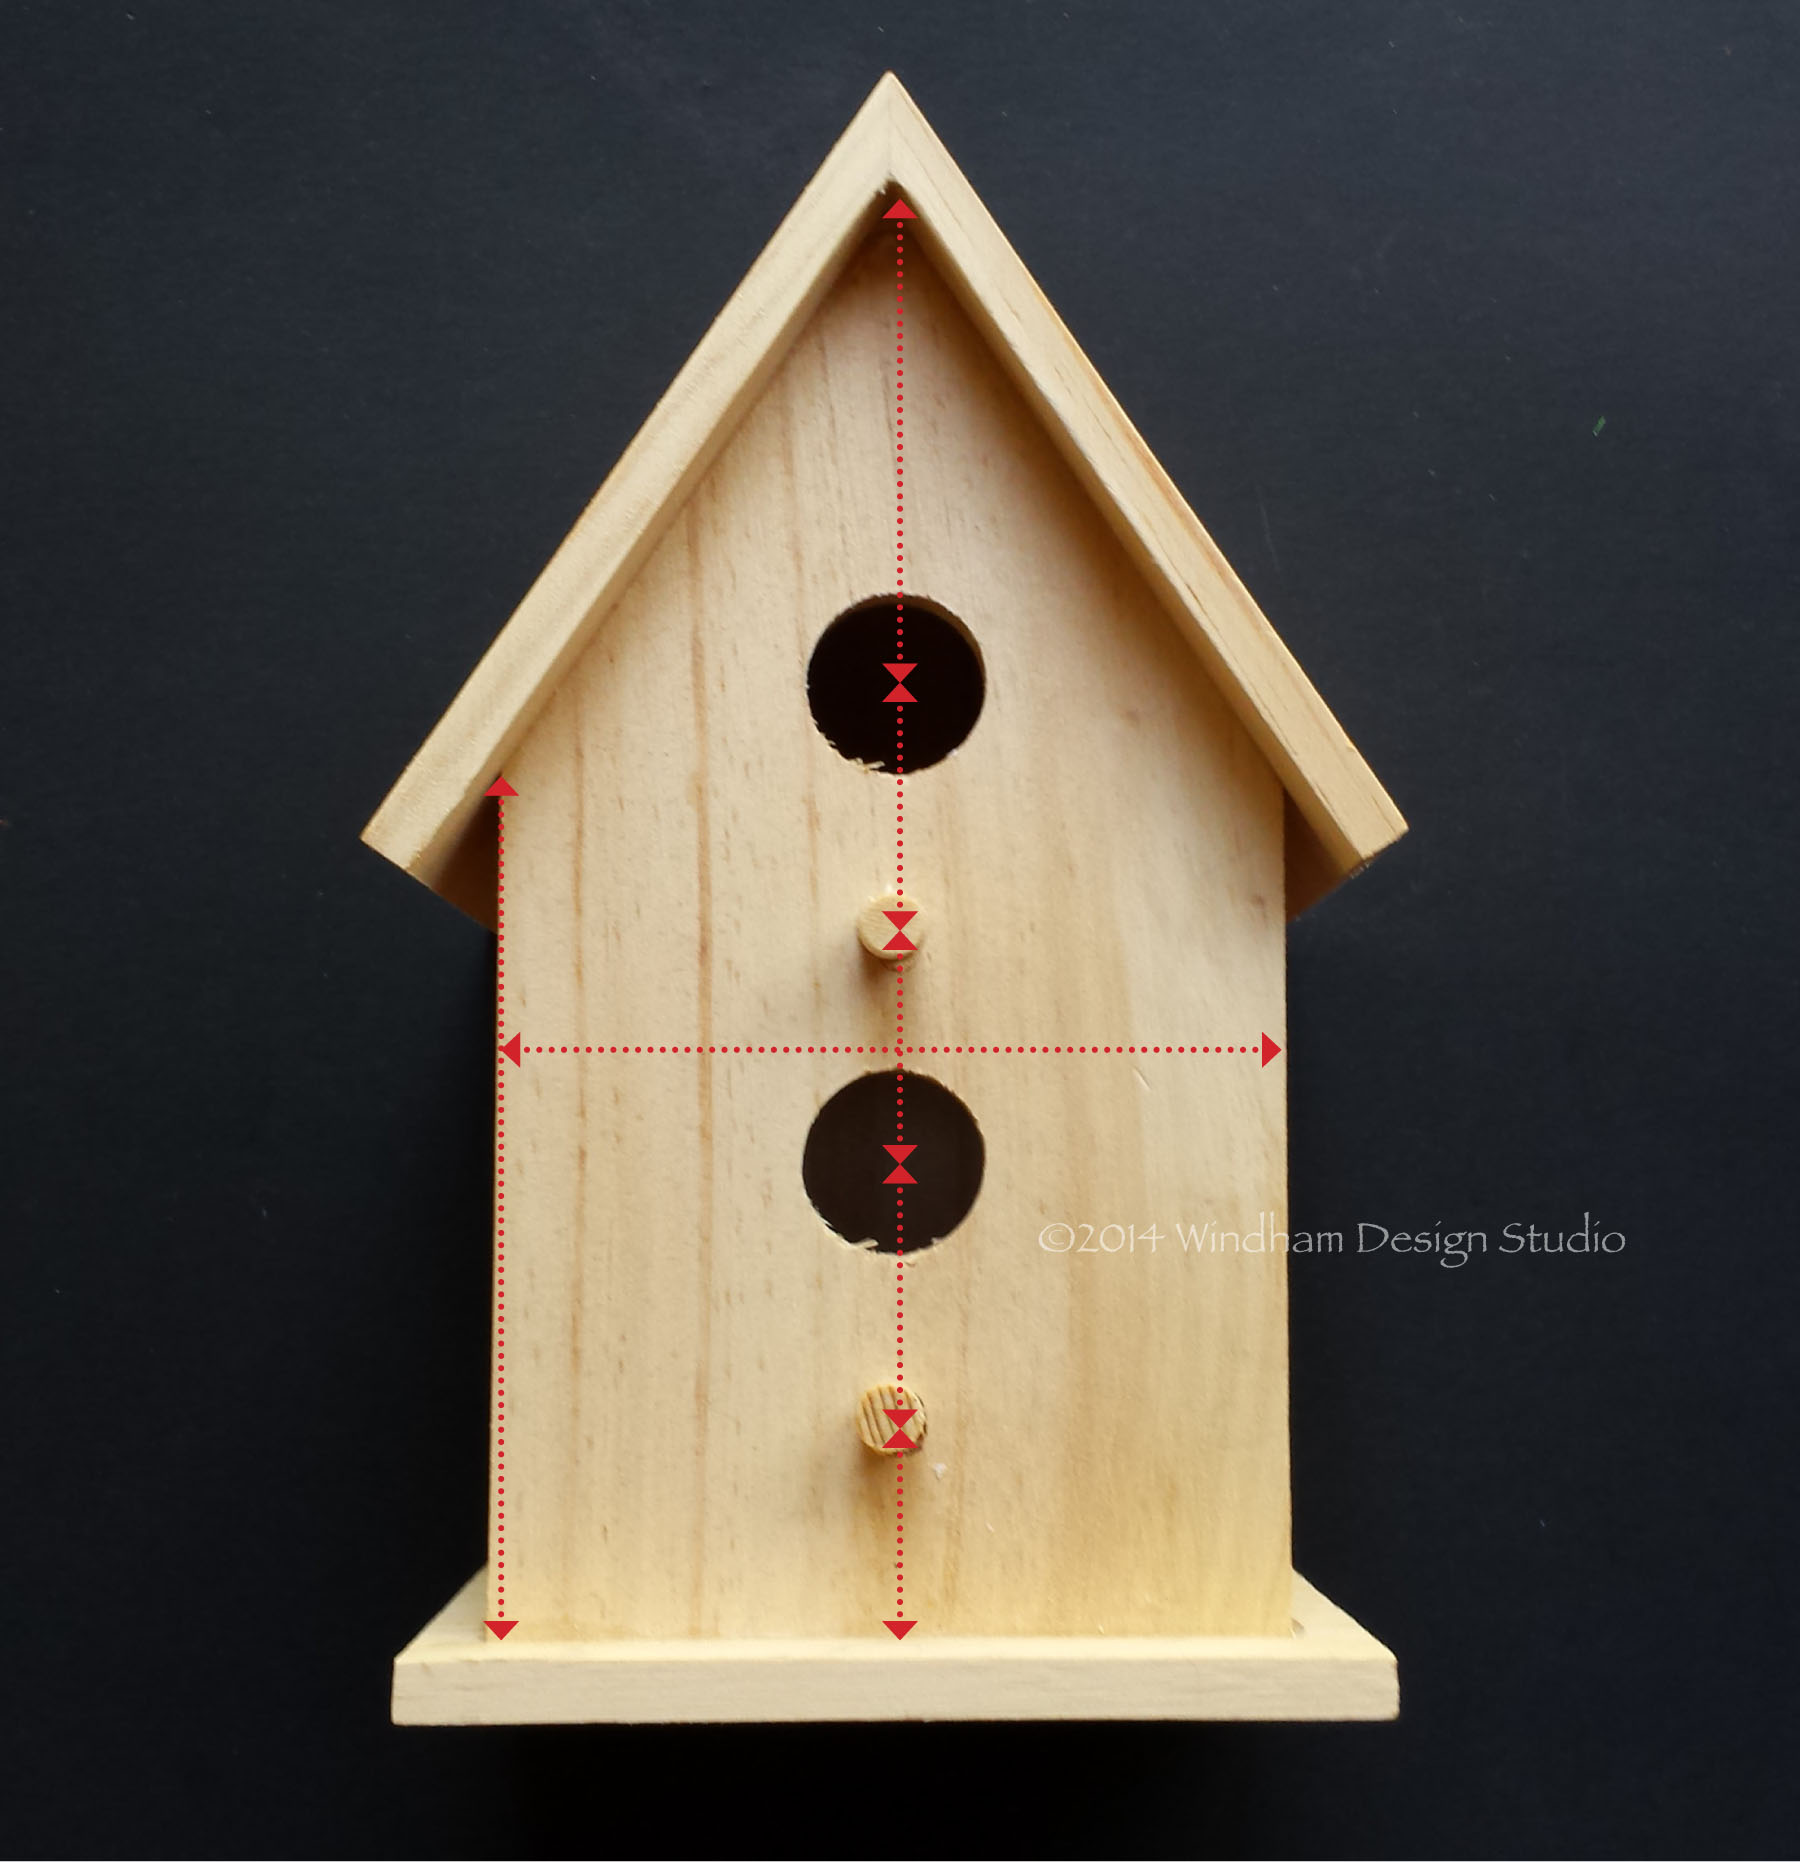
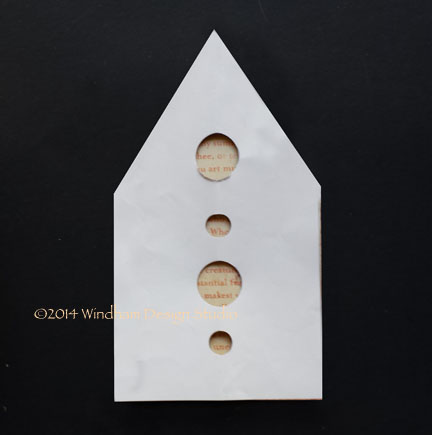
Measure house to create templates
Measure house to create templates for each side. Similar sides may be different sizes. To measure for circle punches, find the center of each hole and measure from the top down.
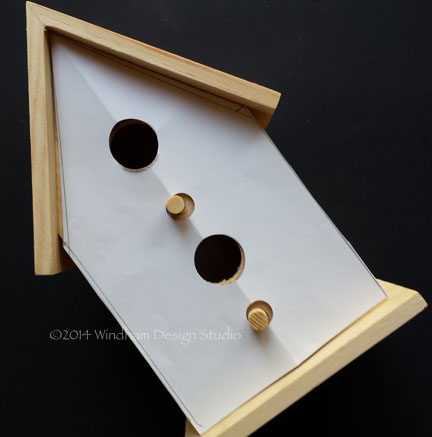
Use a scrap paper template to determine if your measurements are accurate.
Once you have the scrap template, fold it down the center and use your circle punches to make the holes. If the holes are a little off, don’t worry. The patterned paper and base paint will blend together.
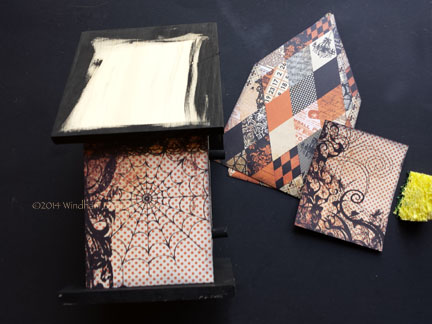
Use your finished scrap paper template to cut the shape for your finished piece.
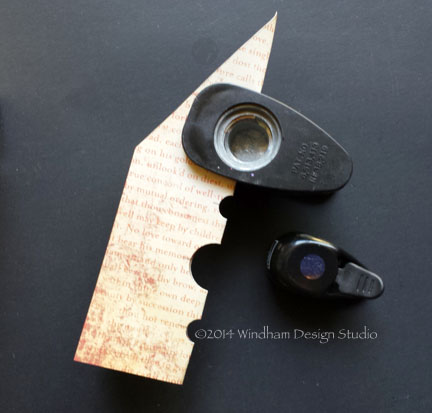
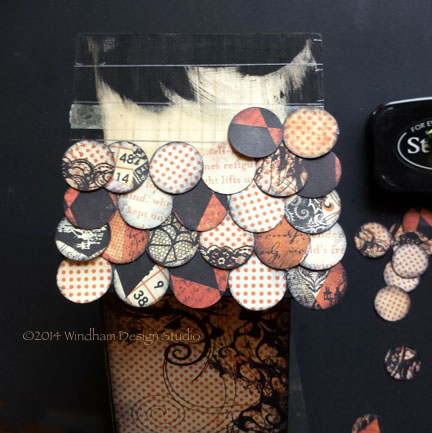
Fold the card stock down the middle to cut the circles.
Cut your card stock using the final front template. Fold the card stock gently down the center to cut the circles with your punches.
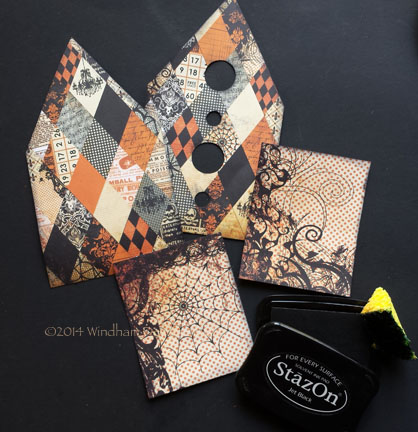
Sponge the edges of all the paper pieces with black Stazon ink.
Add Kool Tak™ Premium Exteme Adhesive to the back side of each cut out.
Sponge the edges of the papers with black Stazon ink, apply Kool Tak™ Premium Extreme Adhesive to the back and set aside.
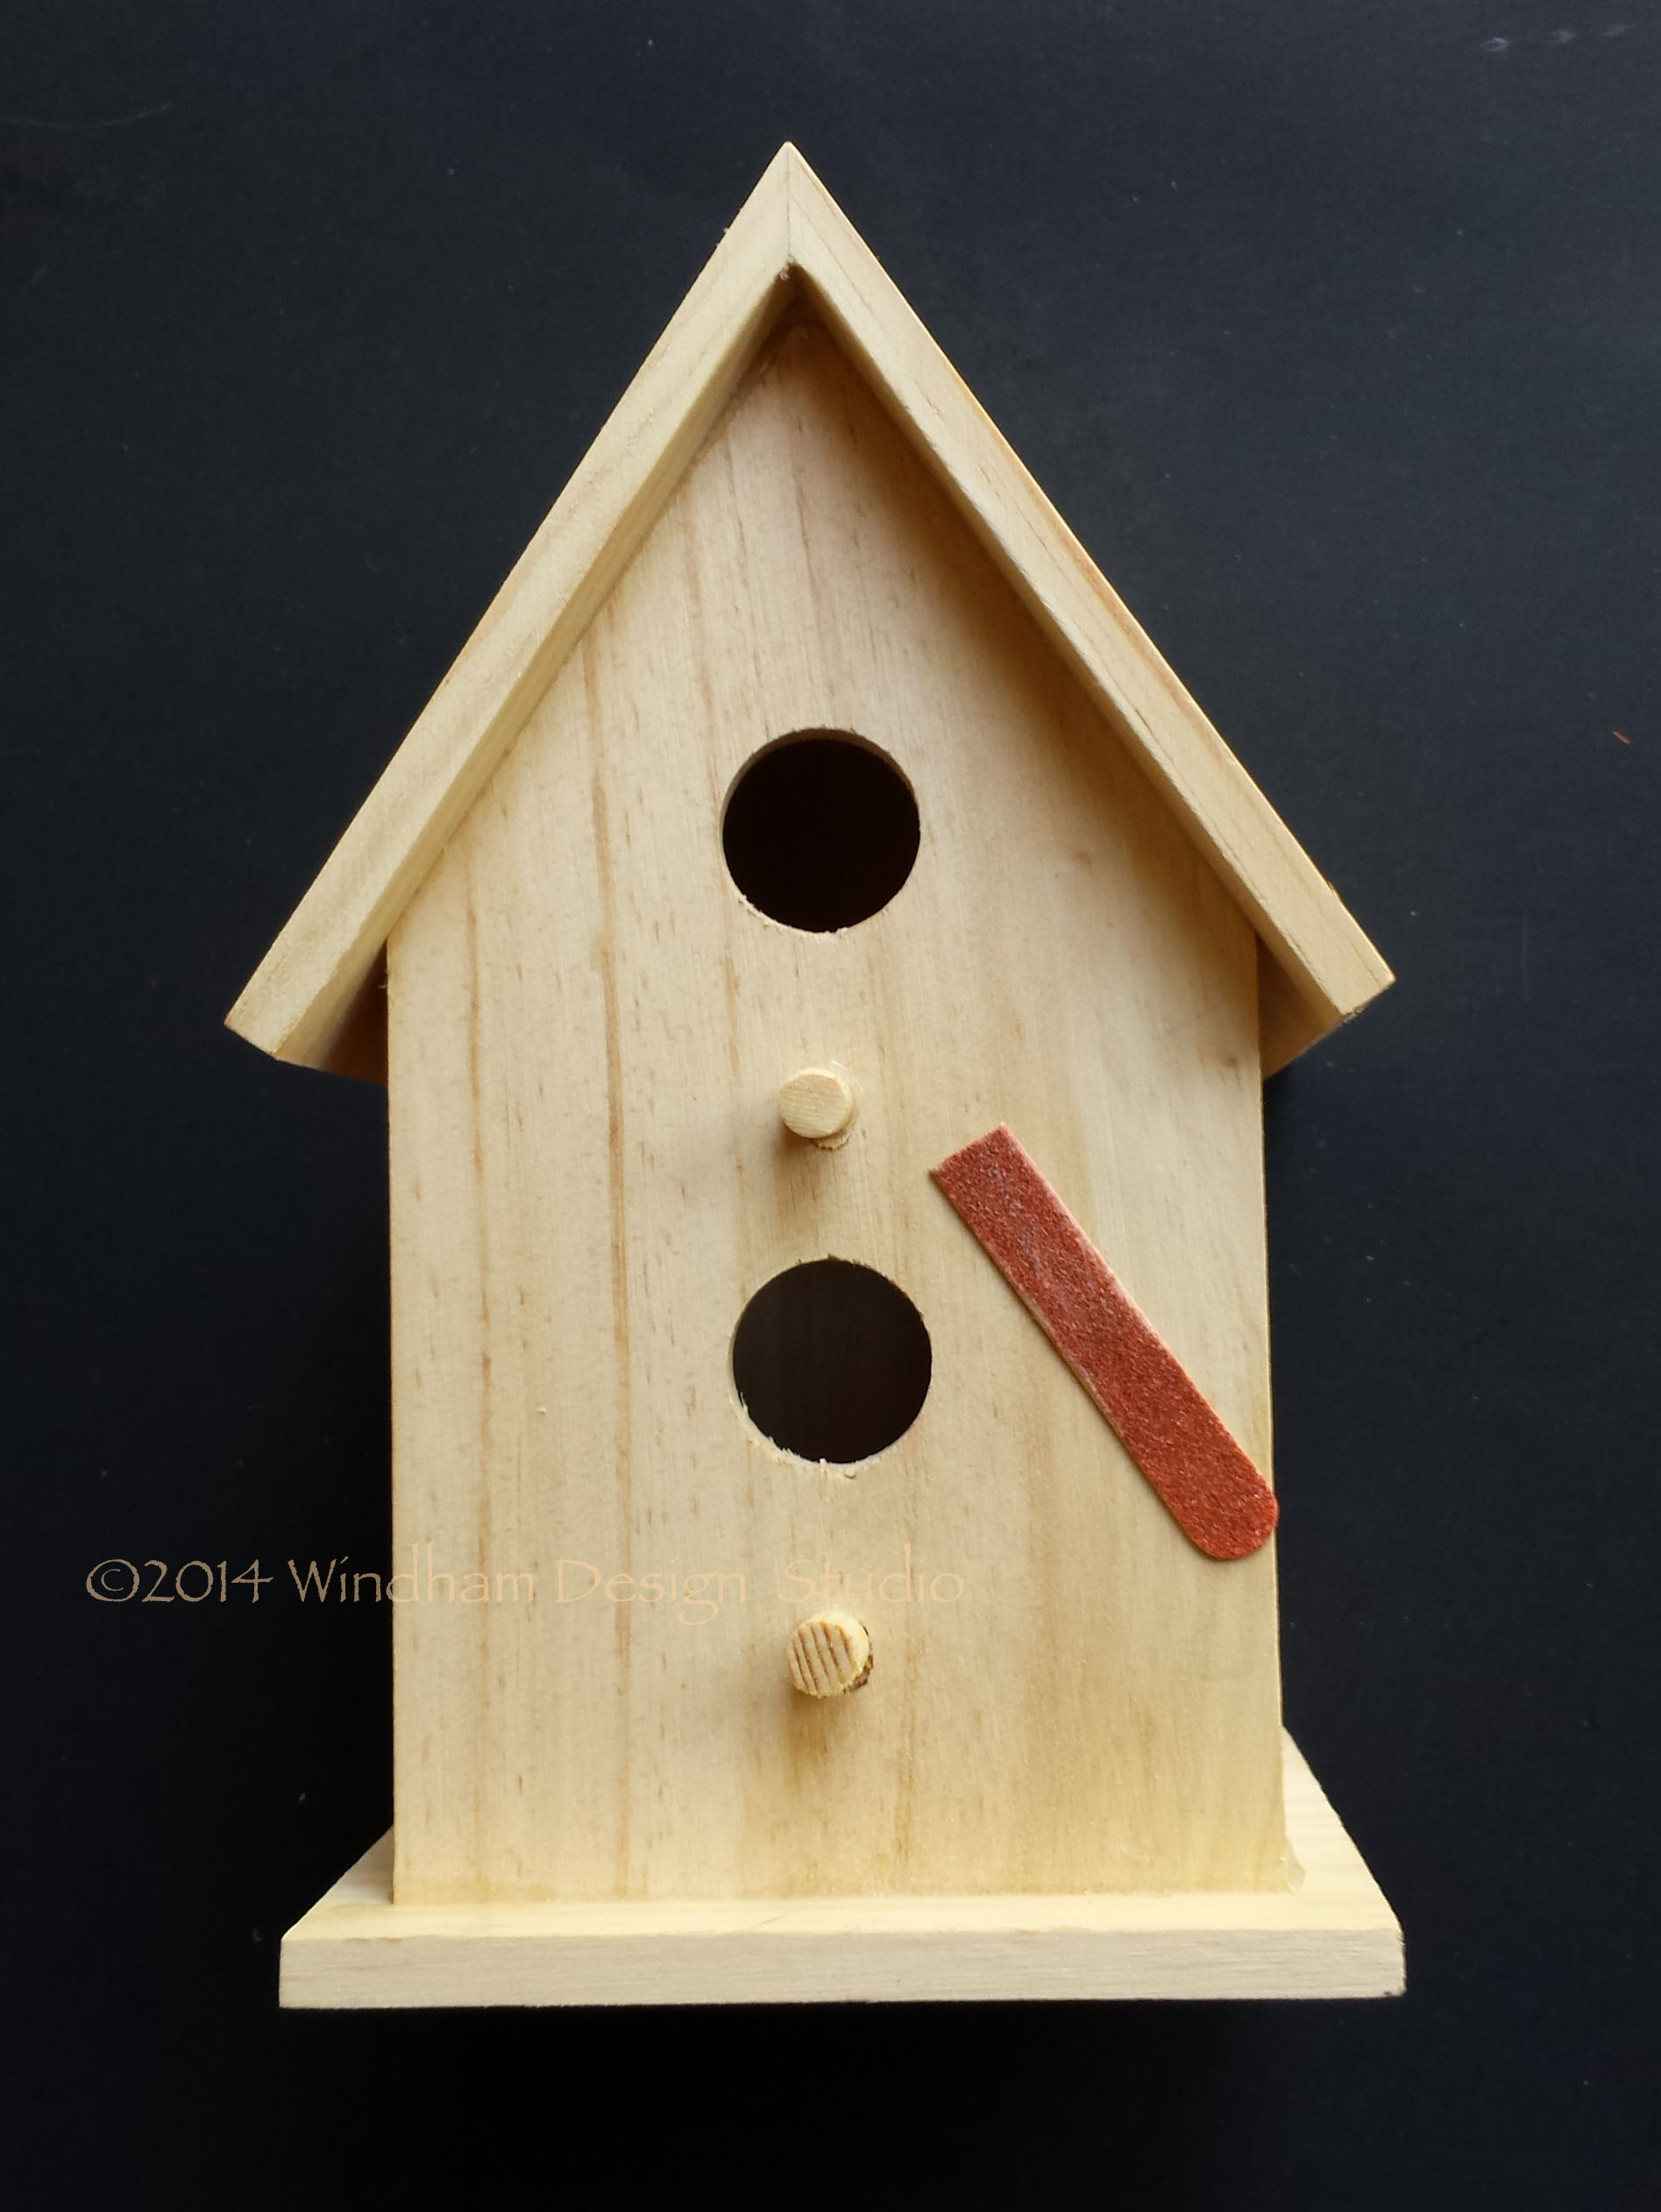
Use an emery board to get into the edges of the holes and sand off the rough spots.
Sand the rough edges on the birdhouse, and then paint the edges with black craft paint using a foam brush. Be sure to get inside the holes and into the straight crevices of any part of the house the paper might not cover.
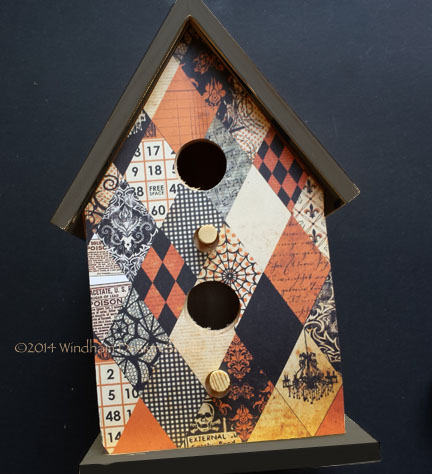
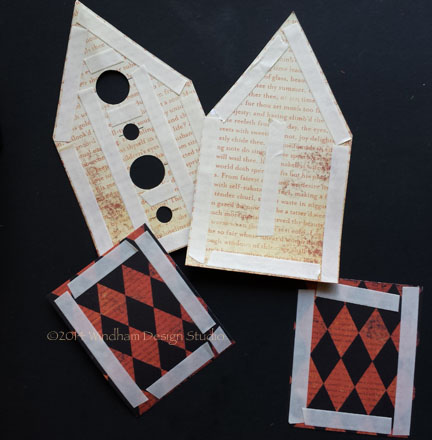
Apply the card stock to the house.
Apply the papers to all sides of the house.
Apply each piece of paper to the house. If you missed any spots on the edges, touch them up with black craft paint. Sponge over the edges again with black Stazon ink to create a vintage look.
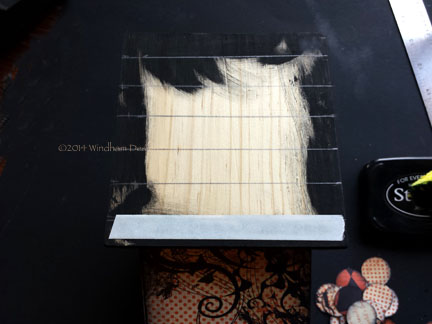
Draw a pencil line 1/2″ from the bottom of the roof, then every 3/4″ to the top. Apply Kool Tak™ Premium Extreme Adhesive about 1/2″ up from the bottom of the roof line.
Add circle shingles, overlapping each about 1/4″ from bottom to top.
Punch about thirty 1″ circles from the remaining card stock. Sponge all the edges. Draw a pencil line 1/2″ from the bottom of the roof. Apply Kool Tak™ Premium Extreme Adhesive along the bottom line and begin applying circles to the adhesive. Be sure to overlap the sides edges about 1/4″. Apply the next row of adhesive. Begin the second row by lining the side edge up with the circle below on row #1. Apply the second circle, centering it between the two bottom left circles. Repeat in this manner until you get within 1/2″ of the roof top. Repeat on the other side.
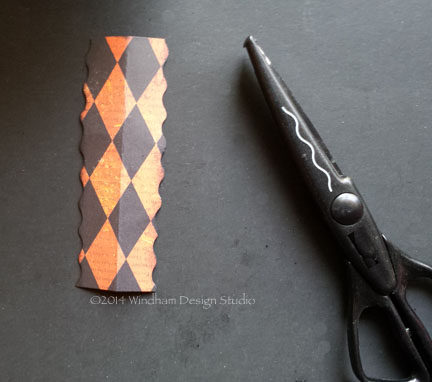
Cut a strip from the remaining paper 2 1/2″ wide and the length of your roof line from front to back.
Cut a strip from the remaining card stock 2 1/2″ wide and the length of the roof line from front to back. Carefully trim both sides with scalloped decorative scissors. Sponge the edges with black Stazon ink. Score and fold the length of the card stock. Apply Kool Tak™ Premium Extreme Adhesive to the back on each side, remove the release paper and adhere it to the roof.
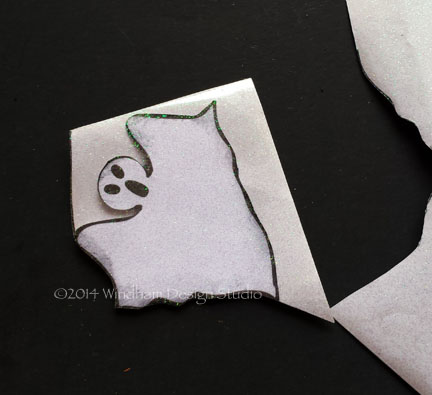
Apply Kool Tak™ Sparkly Adhesive to the ghost cutout from the pdf file.
Trim the ghost cutout from the PDF file. Sponge the edges of the ghost lightly with black Stazon ink and add a shimmery sheen to the front with Kool Tak™ Sparkly Adhesive sheet. Trim the ghost out again.
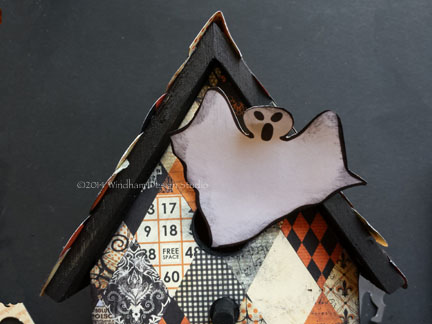
Apply Black Foam Adhesive roll to the back of the ghost where it will adhere to the house.
Tuck the tail of the ghost into the opening of the house and adhere it to the house with Black Foam Adhesive Roll. Since the ghost is covered with the Sparkly Adhesive Sheet, it has a lot of substance, so you can bend it to adhere where you want it.
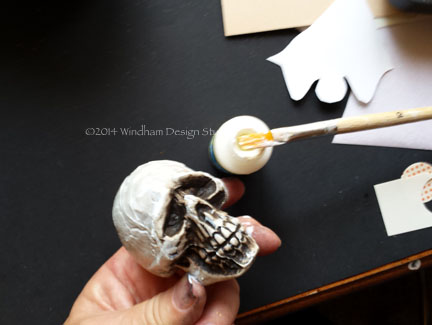
Cover the skull in Kool Tak™ 3D PVA Glue.
Coat the skull with Kool Tak™ 3D PVA Glue and sprinkle with gold Kool Tak™ Sparkles glitter. Tap off the excess and set aside to dry.
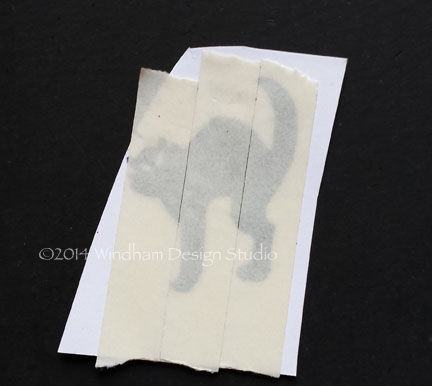
Cover the cat image with Kool Tak™ Premium Extreme Adhesive.
Place as many strips of Kool Tak™ Premium Extreme Adhesive as necessary to cover the front of the black cat. Be sure to place the strips as close as possible without overlapping. Trim out the cat shape.
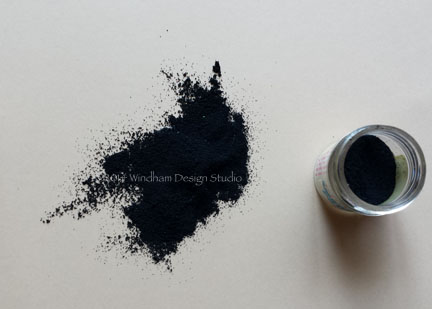
Remove the release paper and cover with black embossing powder. Tap off the excess and return it to the container.

Use the heat tool to emboss the powder, reapplying as necessary for good coverage.
Once you remove the release paper, dust the image with black embossing powder. If it is uneven or splotchy (mine was because someone – now who could that have been? – dumped extra thick powder into a bottle of fine powder. They don’t melt at the same rate, but just adding more while it was hot took care of the problem.), add more powder while the surface is hot and re-melt. Repeat with the bat image and apply it to the lower portion of the house front.
Note from the voice of experience: If you think it’s cool after 10 seconds or so, IT’S NOT! This cat has a nice impression of my left thump print under the top layer of powder. Be careful!
Apply Kool Tak™ Punch Adhesive Sheet to a scrap card stock, punch a 2 1/2″ circle from it, remove the release paper and sprinkle with gold Kool Tak™ Sparkles Glitter.
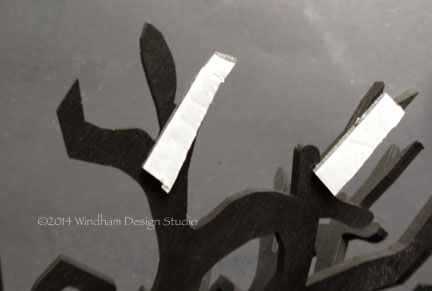
Apply black Kool Tak™ Foam Adhesive Roll strips to the branches of the tree where the moon will attach.
Assemble the tree according to package directions. Apply black Kool Tak™ Foam Adhesive Roll strips to the tree branches where the moon will attach. Attach the gold circle, add a piece of black Kool Tak™ Foam Adhesive Roll to the cat’s back and attach him to the moon, making sure his feet are anchored to a branch. Otherwise, he looks like he’s awkwardly flying.
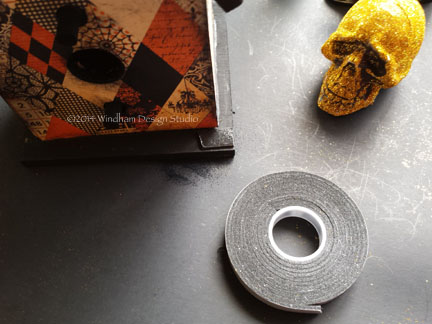
Anchor the skull to the house with a strip of black Kool Tak™ Foam Adhesive Roll.
The skull anchors to the house on the right front base edge with black Kool Tak™ Foam Adhesive Roll. He is attached on one side only, allowing the other side to rest on the table top.
Place the house in the corner where the tree is put together.
You now have your own centerpiece or tabletop decoration for that spooky gathering you’re planning. And thanks to Kool Tak™, it will be around for years to come.
Happy haunting, everyone!