

Two years ago, my daughter got married and we gained a son. Now they have a ten month old baby who is the most adorable child ever. My, how time flies… I was looking through some of the photos of their wedding day and found one photo that I love of the two of them. I decided to create a wedding keepsake. Jess can use it to hold her jewelry or just set it on a ledge with photos tucked inside.
Gray, black, yellow and white is a striking color combination and I love how this project turned out. I used Kool Tak™ Clear Adhesive Sheets in a couple of different ways. The adhesive is really strong and that was definitely called for with this project due to the weight of the microbeads.

Materials:
Kool Tak™ Clear Adhesive Sheets 8″ x 10″
fabric scraps
matboard
Tools:
Sizzix Big Shot
Sizzix ScoreBoards™ Windowbox, XL
Flower with Heart Petals
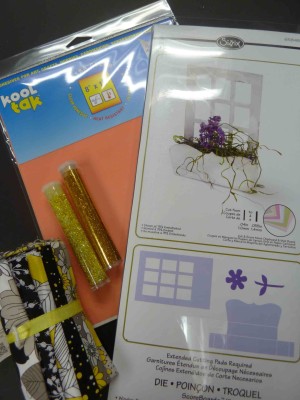
supplies
Instructions:
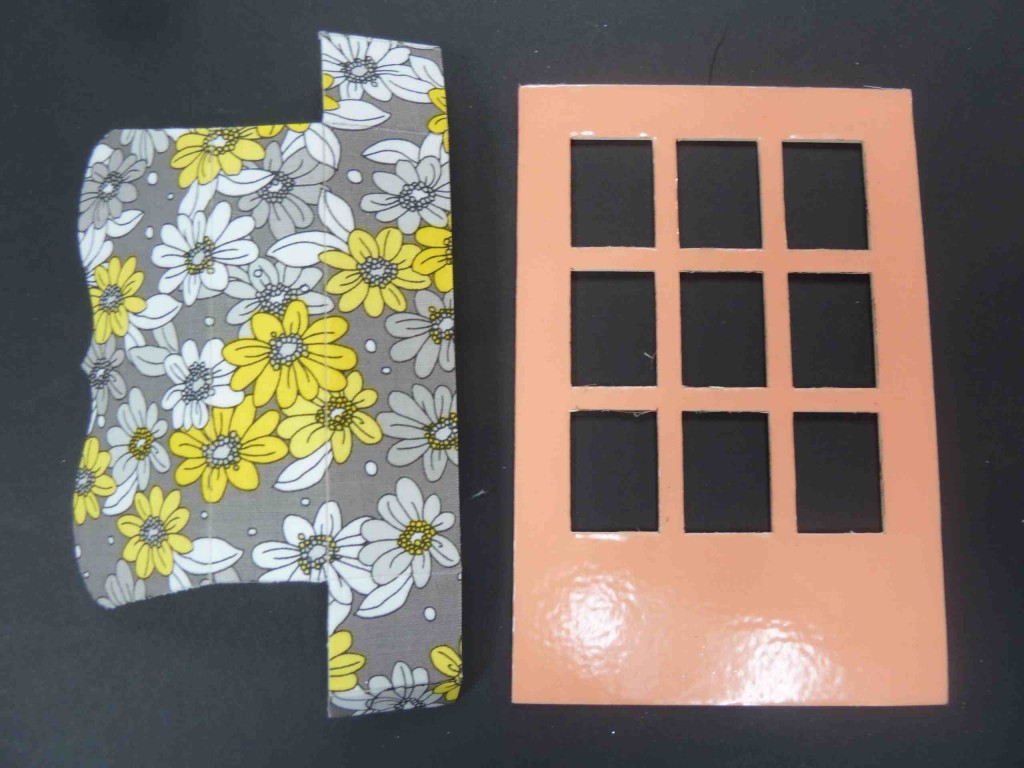
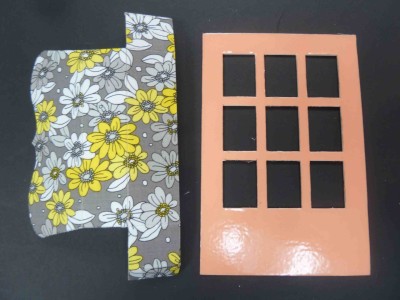
- Place a Kool Tak™ Clear Adhesive Sheets on a piece of 6″ x 13″ piece of matboard. Remove the release film from half of the sheet and add fabric. Align fabric over windowbox section of die and run through your Big Shot machine.
- Remove release film from window and sprinkle on gold microbead sparkles, pressing into place for even coverage. Sprinkle silver glitter in gaps and shake off excess.
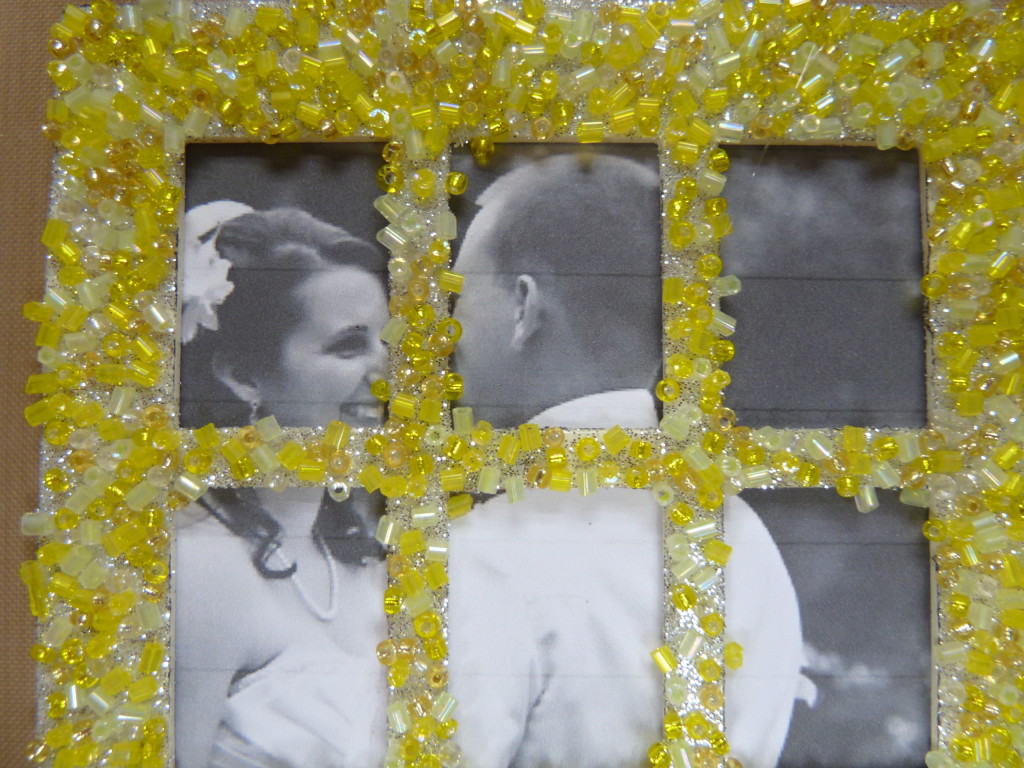
- Tape a photo to the back of the window section and cover entire back with white cardstock.
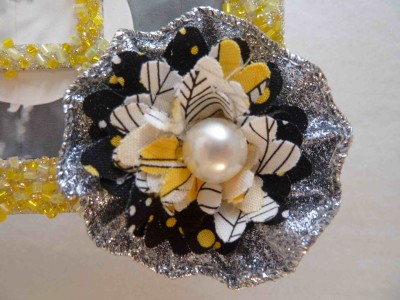
- Make a flower rosette by again using your Clear Adhesive Sheets. Die cut an adhesive covered circle. Remove release film and add ribbon tucking and pleating and following the shape of the circle. Add several medium flowers to the middle of the flower, then smaller flowers still. Glue a pearl to the center.
- Adhere flower to top corner of window.

- Print a banner on the computer with desired text and adhere to the front of the windowbox using Kool Tak™ 3D Foam Squares.

I assembled this entire box using Kool Tak™ Clear Adhesive Sheets! I adhered fabric to matboard, adhered microbeads and glitter to matboard, assembled a box, and created a cute little rosette- all using one amazing product! Lesson learned? Do not run out of Kool Tak™ Clear Adhesive Sheets!
Thanks for stopping by!