
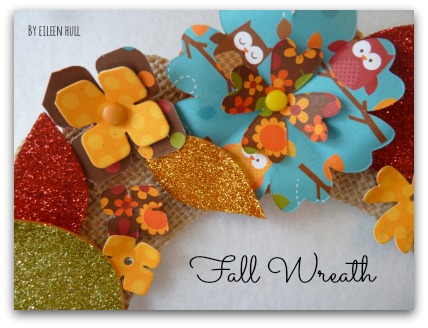
Created by Eileen Hull

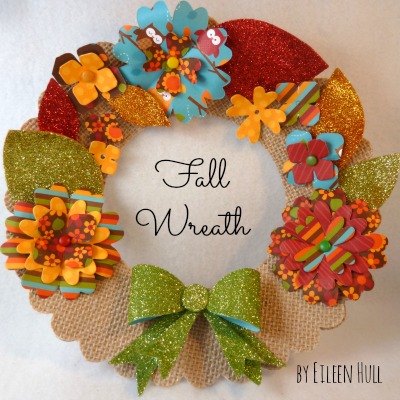
Here’s a fall wreath that’s sure to catch everyone’s eye! The bright colors and glitzy sparkle make this home decor piece a winner. This project could also be used as a candle ring.
Lucky for me, I am well stocked with Kool Tak™ adhesives because I wound up using quite a few different kinds for this project. As the saying goes, “Every project is easier if you have the right tools.” Not sure who said that (was it me?), but it is definitely true.
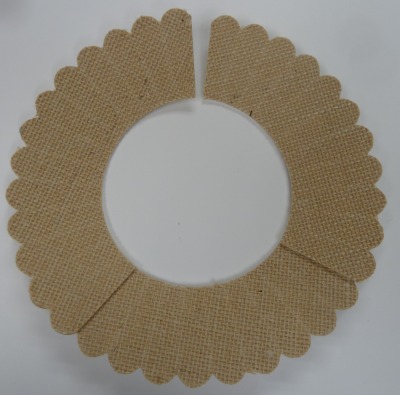
The base of the project is made from burlap matboard. I used some of my Sizzix dies to construct the wreath base and flowers and leaves for the rest of the project.
Materials:
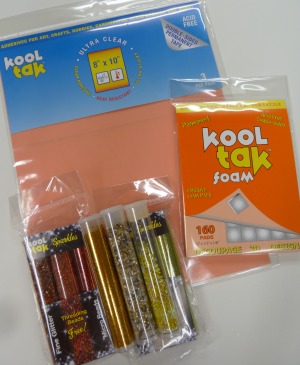
- Kool Tak™ Non- Stick Crafting Sheet
- Kool Tak™ Ultra Clear Adhesive Sheets- 8″ x 10″
- Kool Tak™ 3D Foam 1/2″ x 1/2″ x1/8″
- Kool Tak™ Sparkles- Gold, red and green
- burlap matboard- 10″ x 10″
- patterned paper (I used Doodlebug), brads
Tools: Sizzix Big Shot, Eileen Hull dies: Cupcake ScoreBoards, Heart Flower, Borders & Hydrangeas, 3D Ribbon
Instructions:
- Die cut three (3) cupcake shapes from matboard. Arrange them in a circle, depending on the desired finished size, and bend over on each score line so pieces curve. Trim off segments as needed.
- Adhere three (3) segments together using Kool Tak™ Ultra Clear Adhesive Sheets.
- Cut an Ultra Clear Adhesive Sheet and a piece of cardstock to 5 1/2″ x 6″. Adhere the adhesive sheet to the back of the paper.
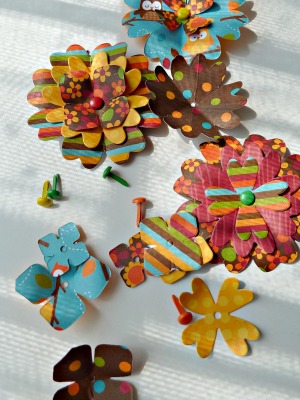
- Die cut flowers from coordinating patterned paper and fold each one into quarters. Unfold and shape into a 3D flower. When you have color combinations you like, secure flower with brad and add a foam square to the bottom of the flower.
- Cut Ultra Clear Adhesive Sheet and piece of card stock to 5 1/2″ x 6″. Adhere the adhesive sheet to the back of the paper.
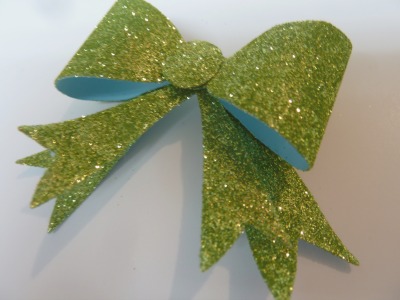
- Run through die-cut machine with leaves and ribbon dies. Make sure to use the Non-Stick Crafting Sheet on your work surface before applying the glitter and then use it to pour the glitter back into container. If you skip this, be resigned to having glitter all over your work station! Remove release paper and add glitter. Make sure to really burnish the glitter well into the adhesive and then tap off the excess. Add a 1/2″ foam square to the back of each the leaves and ribbon pieces.
- Assemble ribbon die and use small stapler to hold layers together.
- Position elements on the wreath and adhere in place, using the 3D Foam Pads for added dimension or pieces of the Ultra Clear sheet if you prefer a flatter look.
Thanks for stopping by! – Eileen